
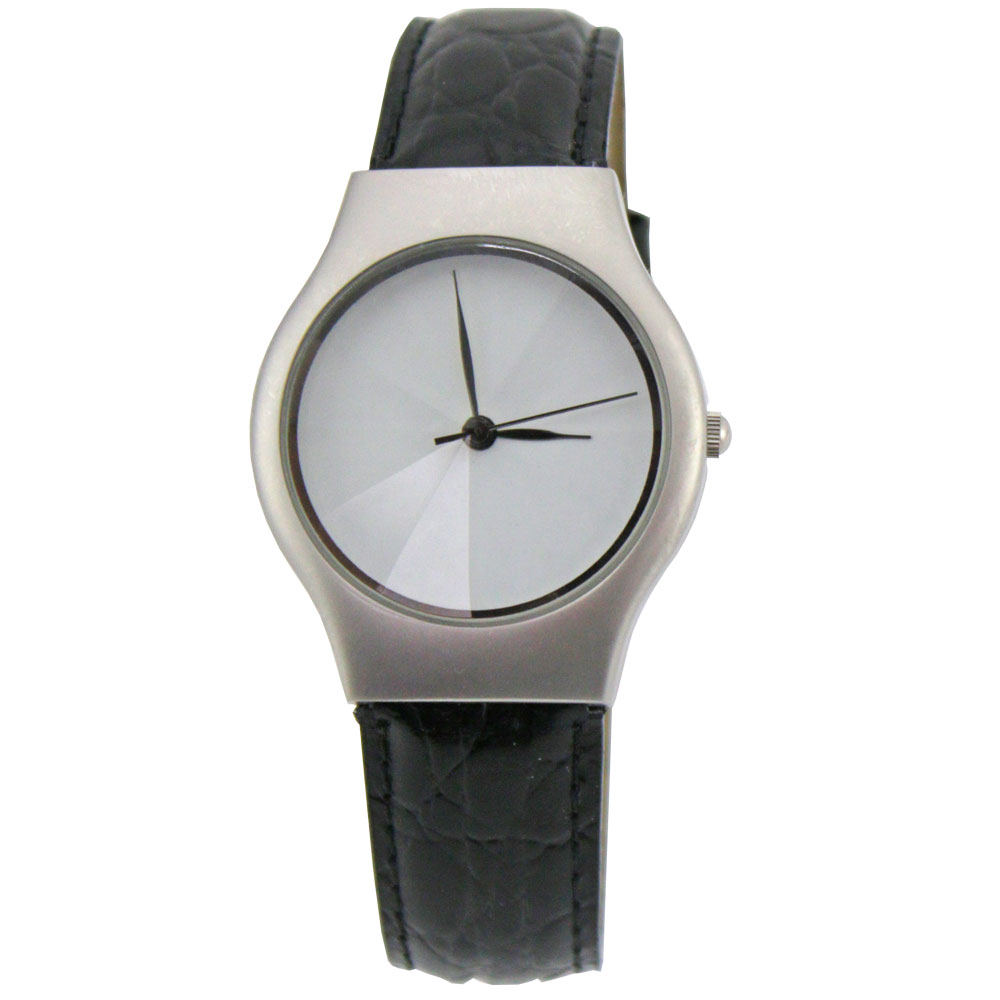
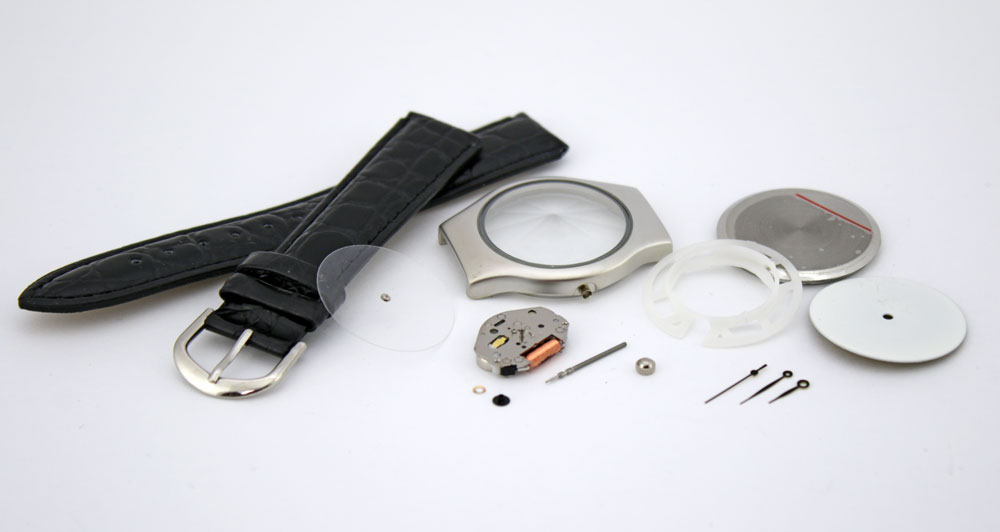
Here is a quick guide to assembling the Quartz Watch Make a Watch Kit. You can also use the instructions for the Make My Own Watch Mechanical Kit with some minor adjustments.
Tools Needed:
Here are a list of the tools needed to assemble this watch or you can buy the Make My Own Watch Tool Kit here.
- Bench Mat
- Microfiber Cloth
- Rodico
- Dust Blower
- Finger Cots
- File
- Sand Paper
- Sharpie
- Pin Vise
- Glue
- Hand Presser
- Dial Protectors
- Tweezers
- Movement Holder
- Case Holder
- Silicone Grease
- Case Press
- Spring Bar Tool
- End Cutter
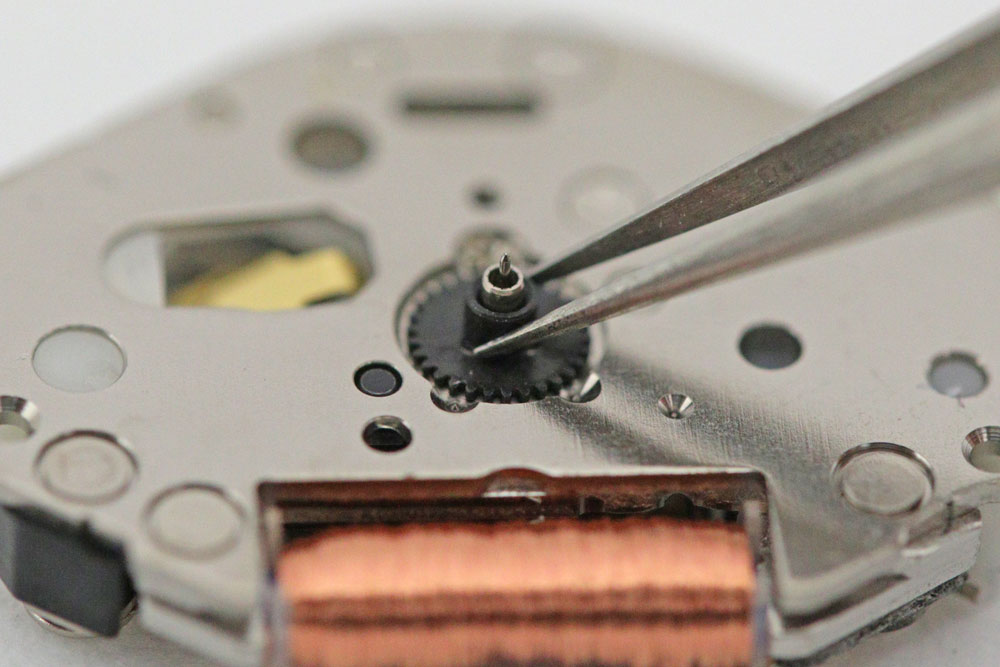
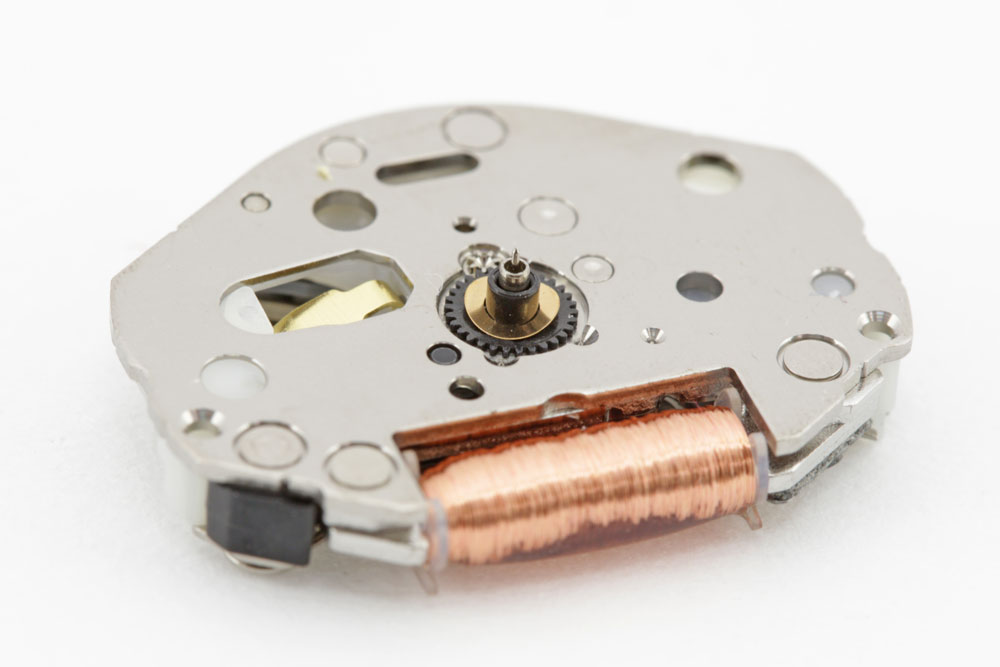
Step 1
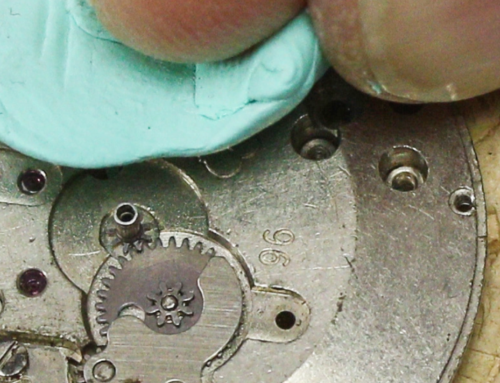
Place the black hour wheel over the shaft and then the brass washer over the hour wheel.

Note about the dial
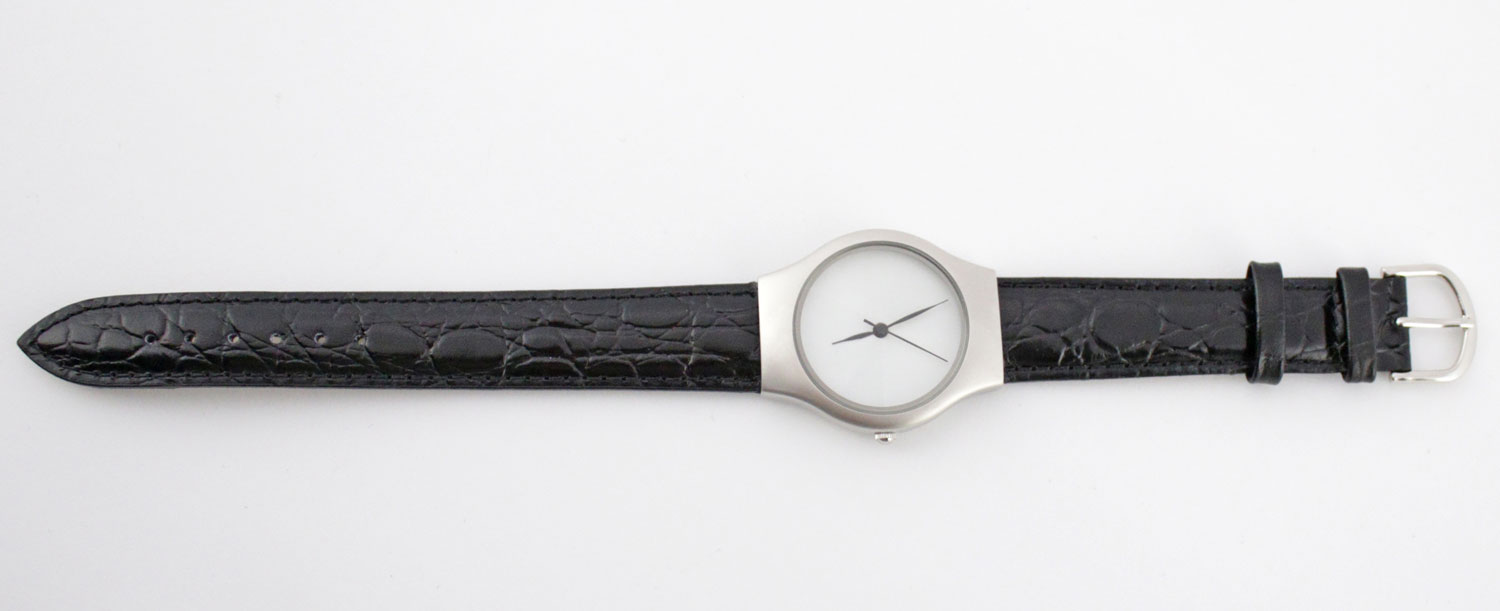
The dial that comes with this kit is painted white and is blank – with no indices or numerals to indicate hour, minute or second. There are a few ways to make your own dial at home. Here is a link to an article that walks you through the waterslide decal transfer method and another article that explains how to use photo paper to make a dial.
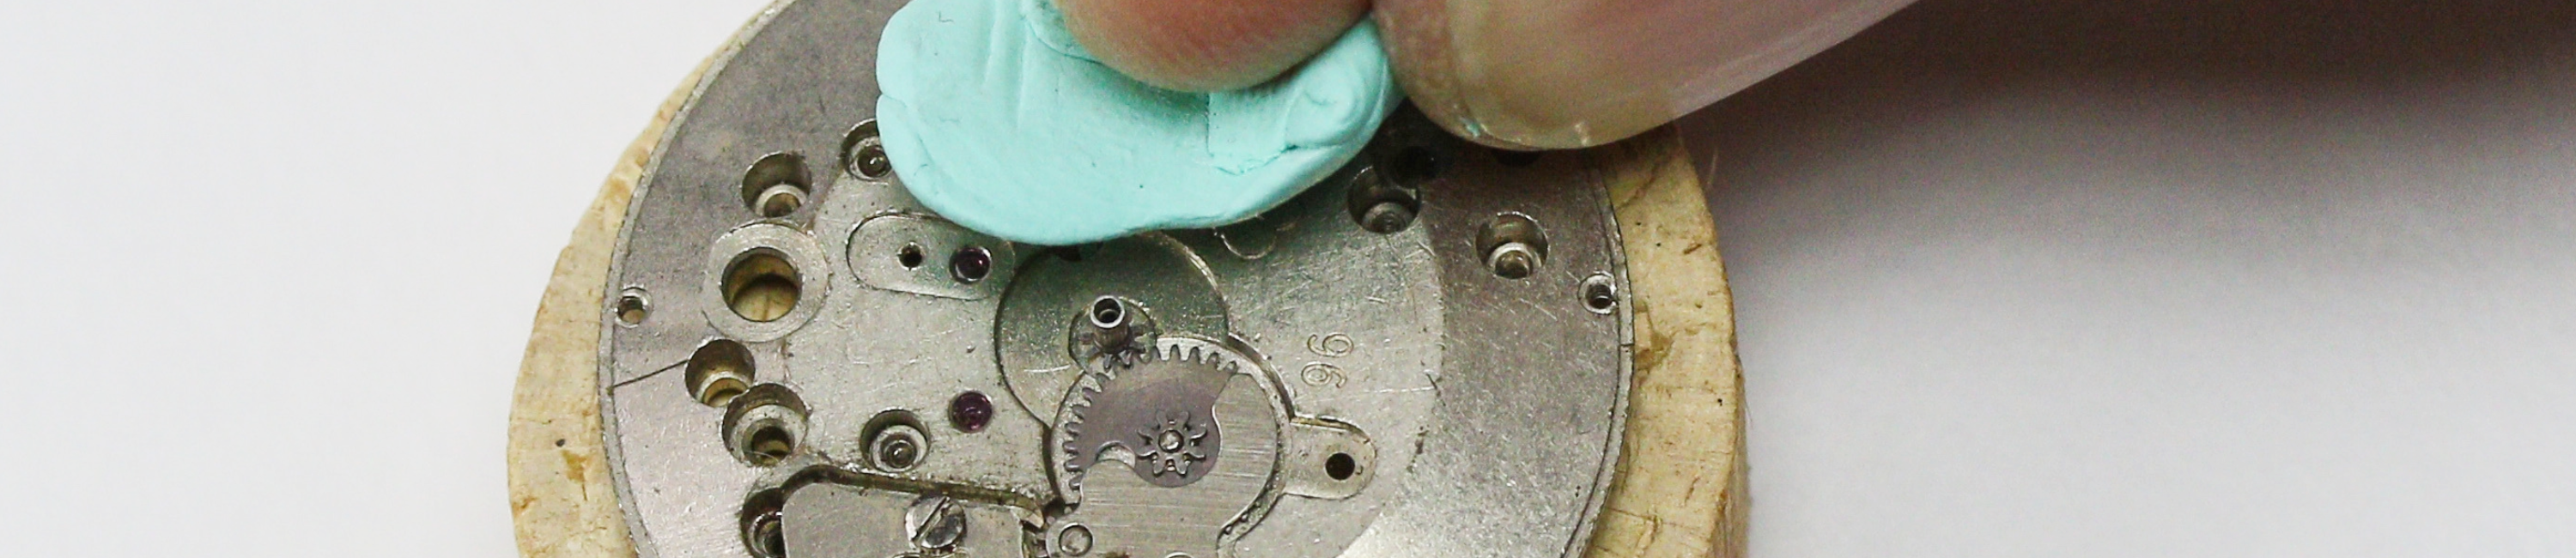
Step 2
 Attach dial onto movement

Line up the dial feet in the holes on the side of the movement. The dial is held on the movement with the dial feel, which friction in.

Step 3
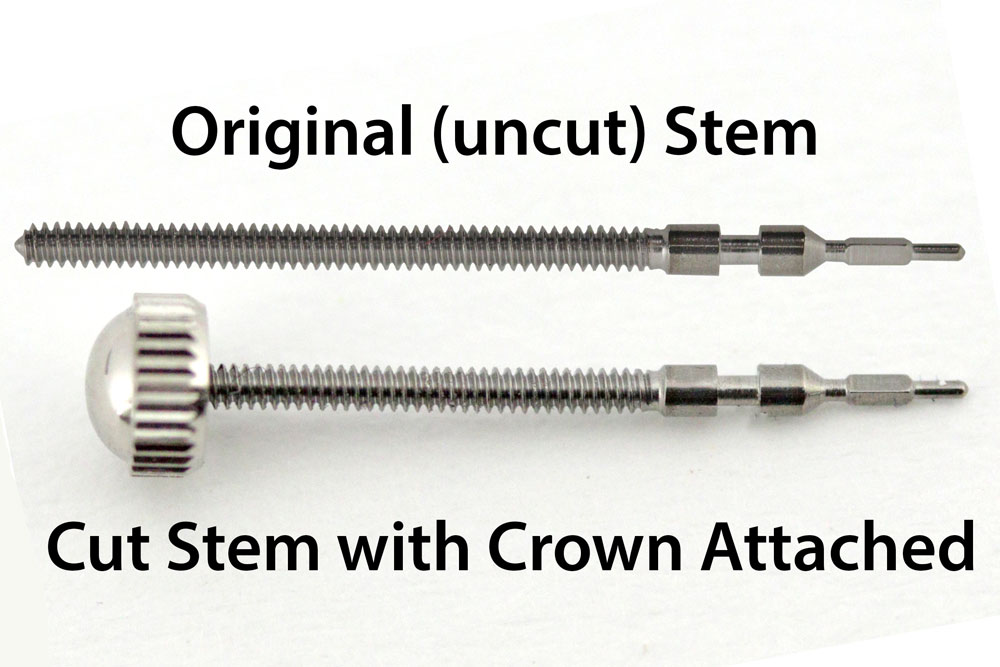
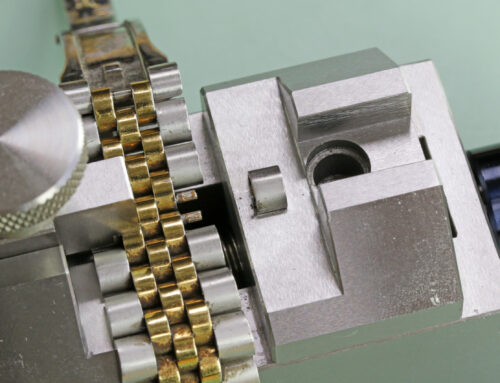
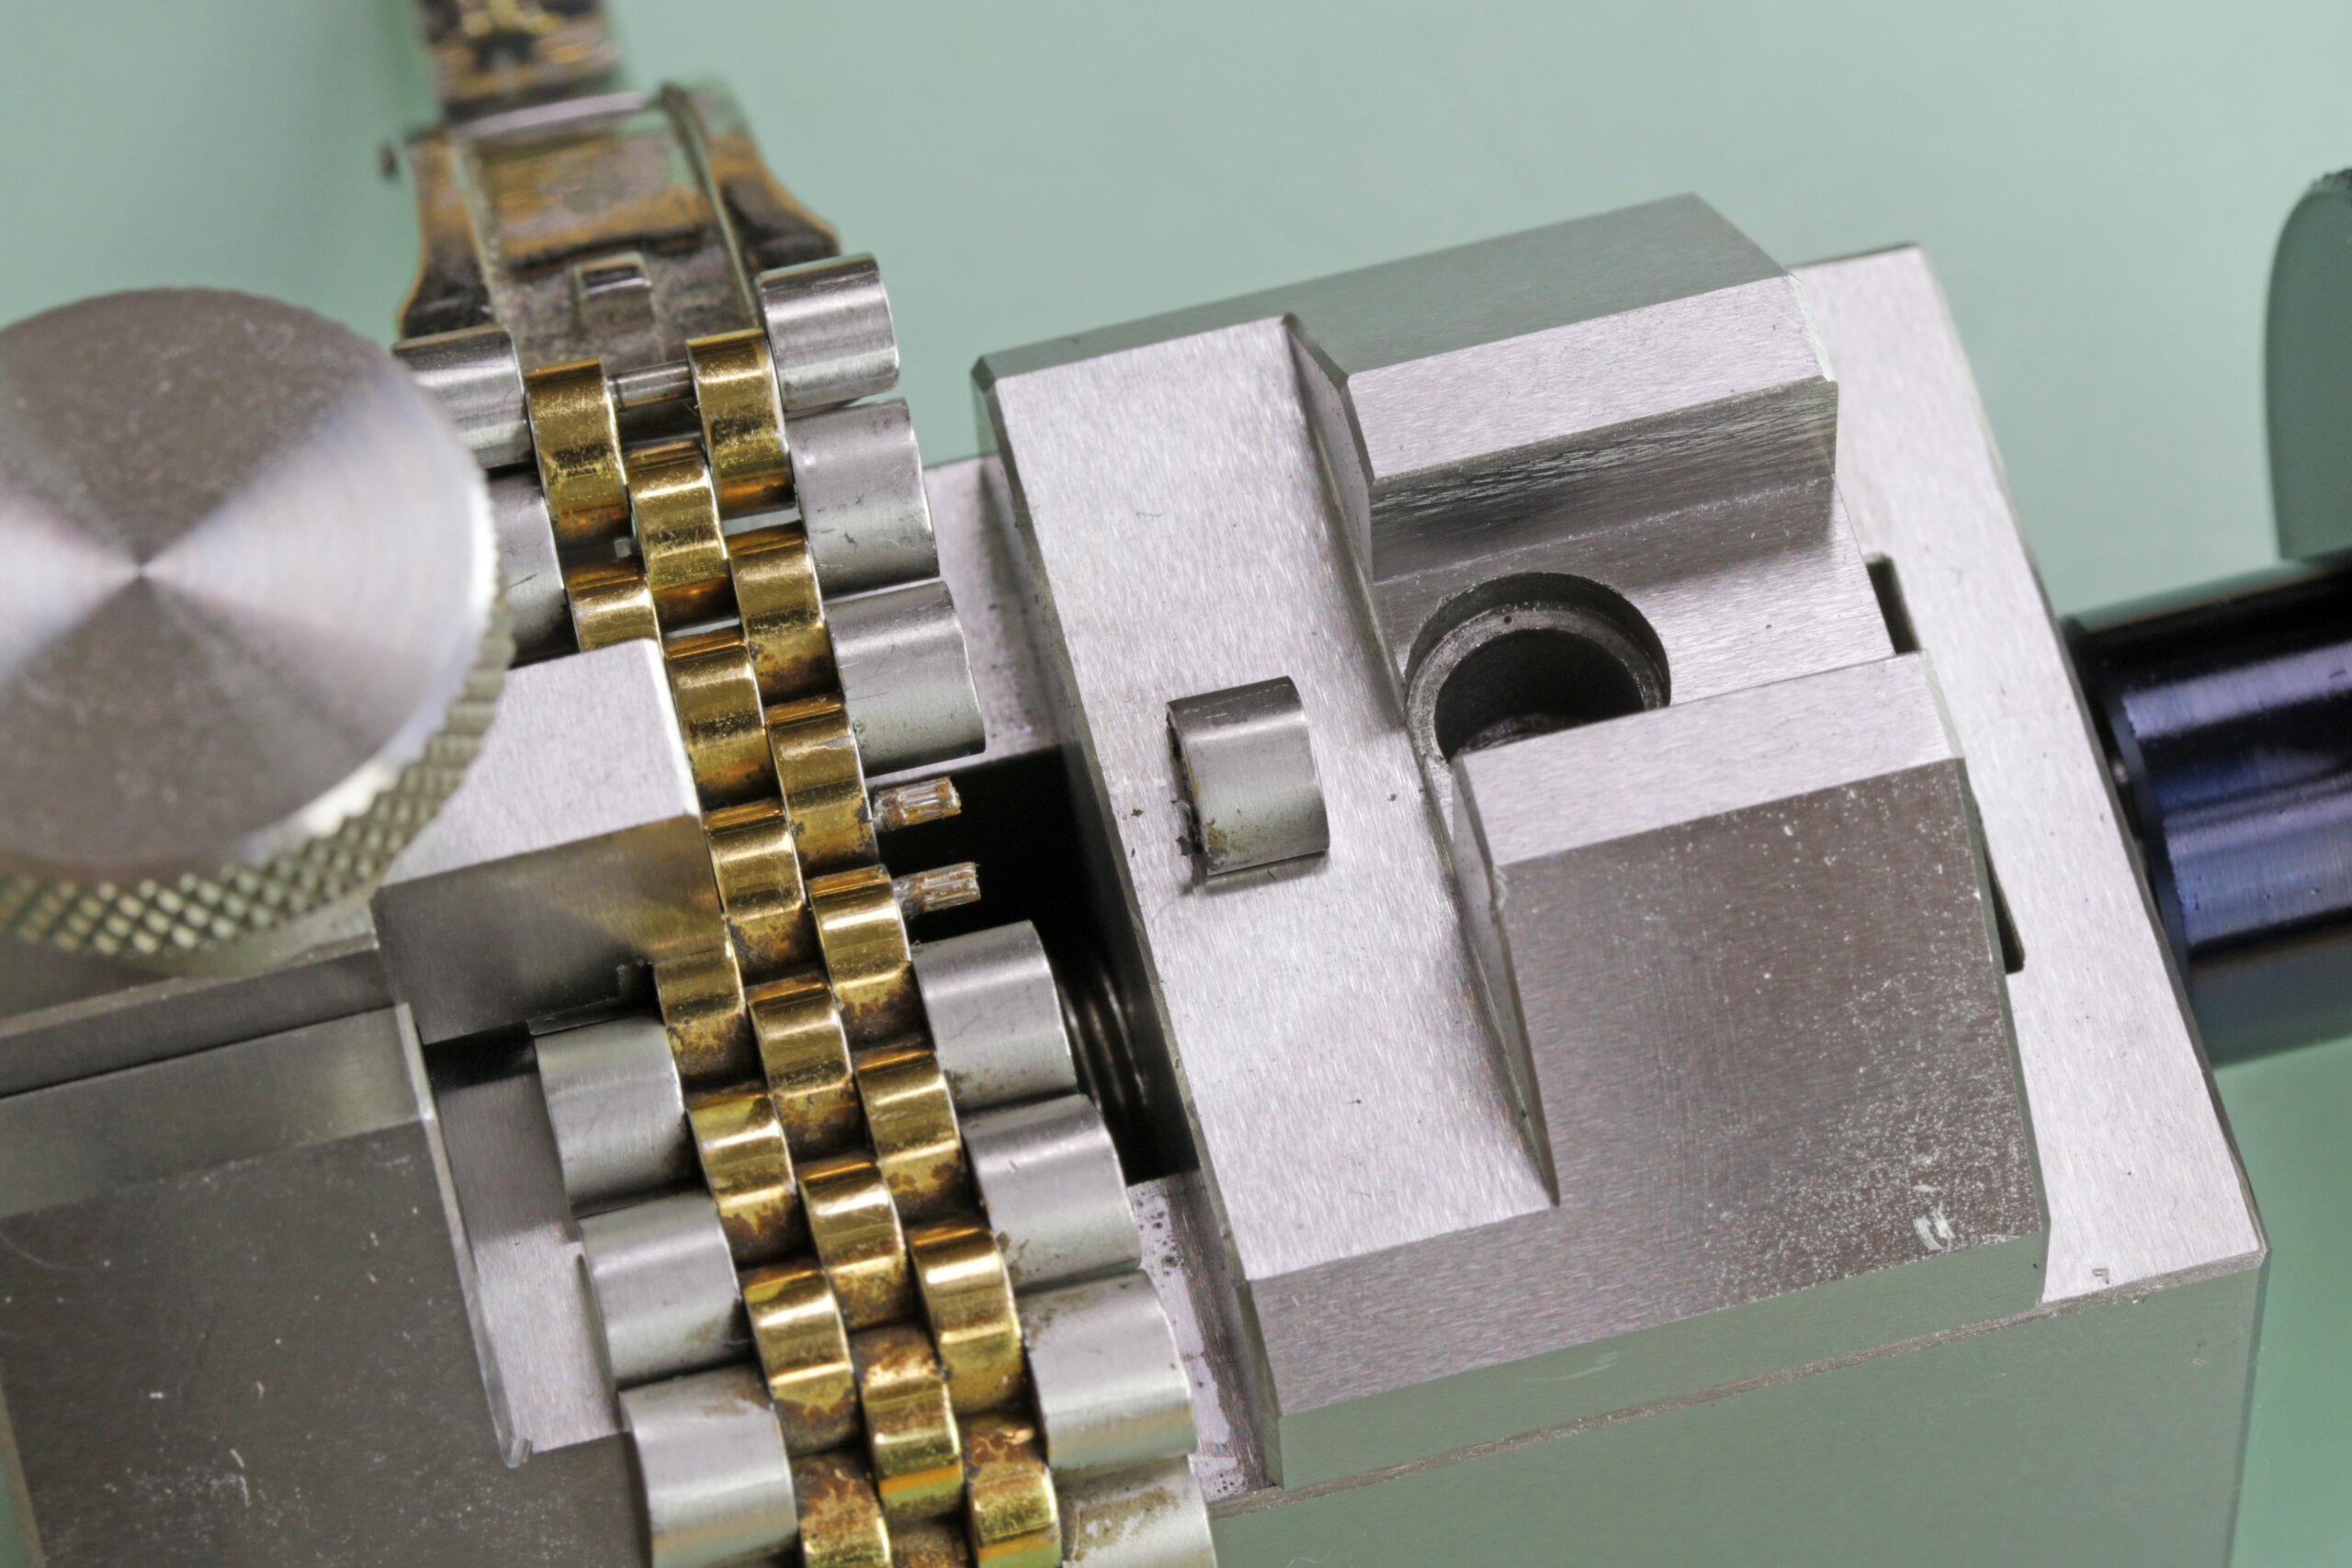
Cut stem to size
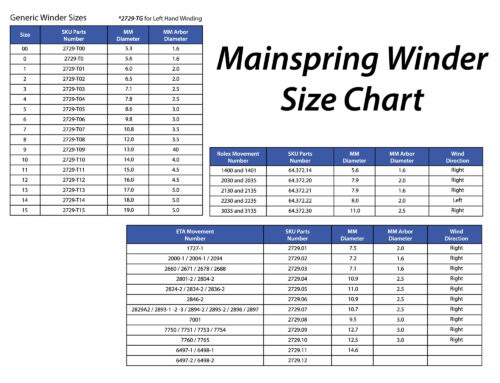
The stem that comes in your kit is too long for the watch and needs to be trimmed to fit properly. Before cutting the stem you will need to measure out where you will mark and cut the stem.
Use this guide to learn how to cut the stem to the correct length.
Step 4
 Attach crown to the stem
After the stem is cut to the correct length, use glue or loctite on the threaded end of the stem and screw the crown in place.
Step 5
 Mount the hands
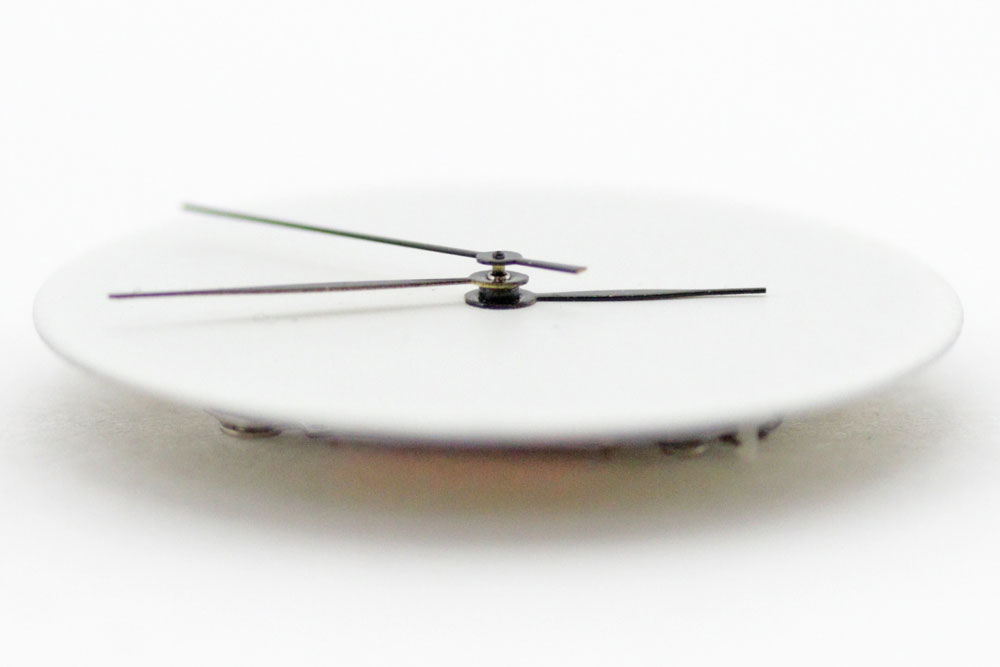
Use the hand presses to install all three hands onto the movement. Place the hands in the 12 o’clock position. When all hands are in place, make sure that none are touching each other and are parallel with the dial. You can wind the crown to move the hands around the dial to make sure everything is working properly.
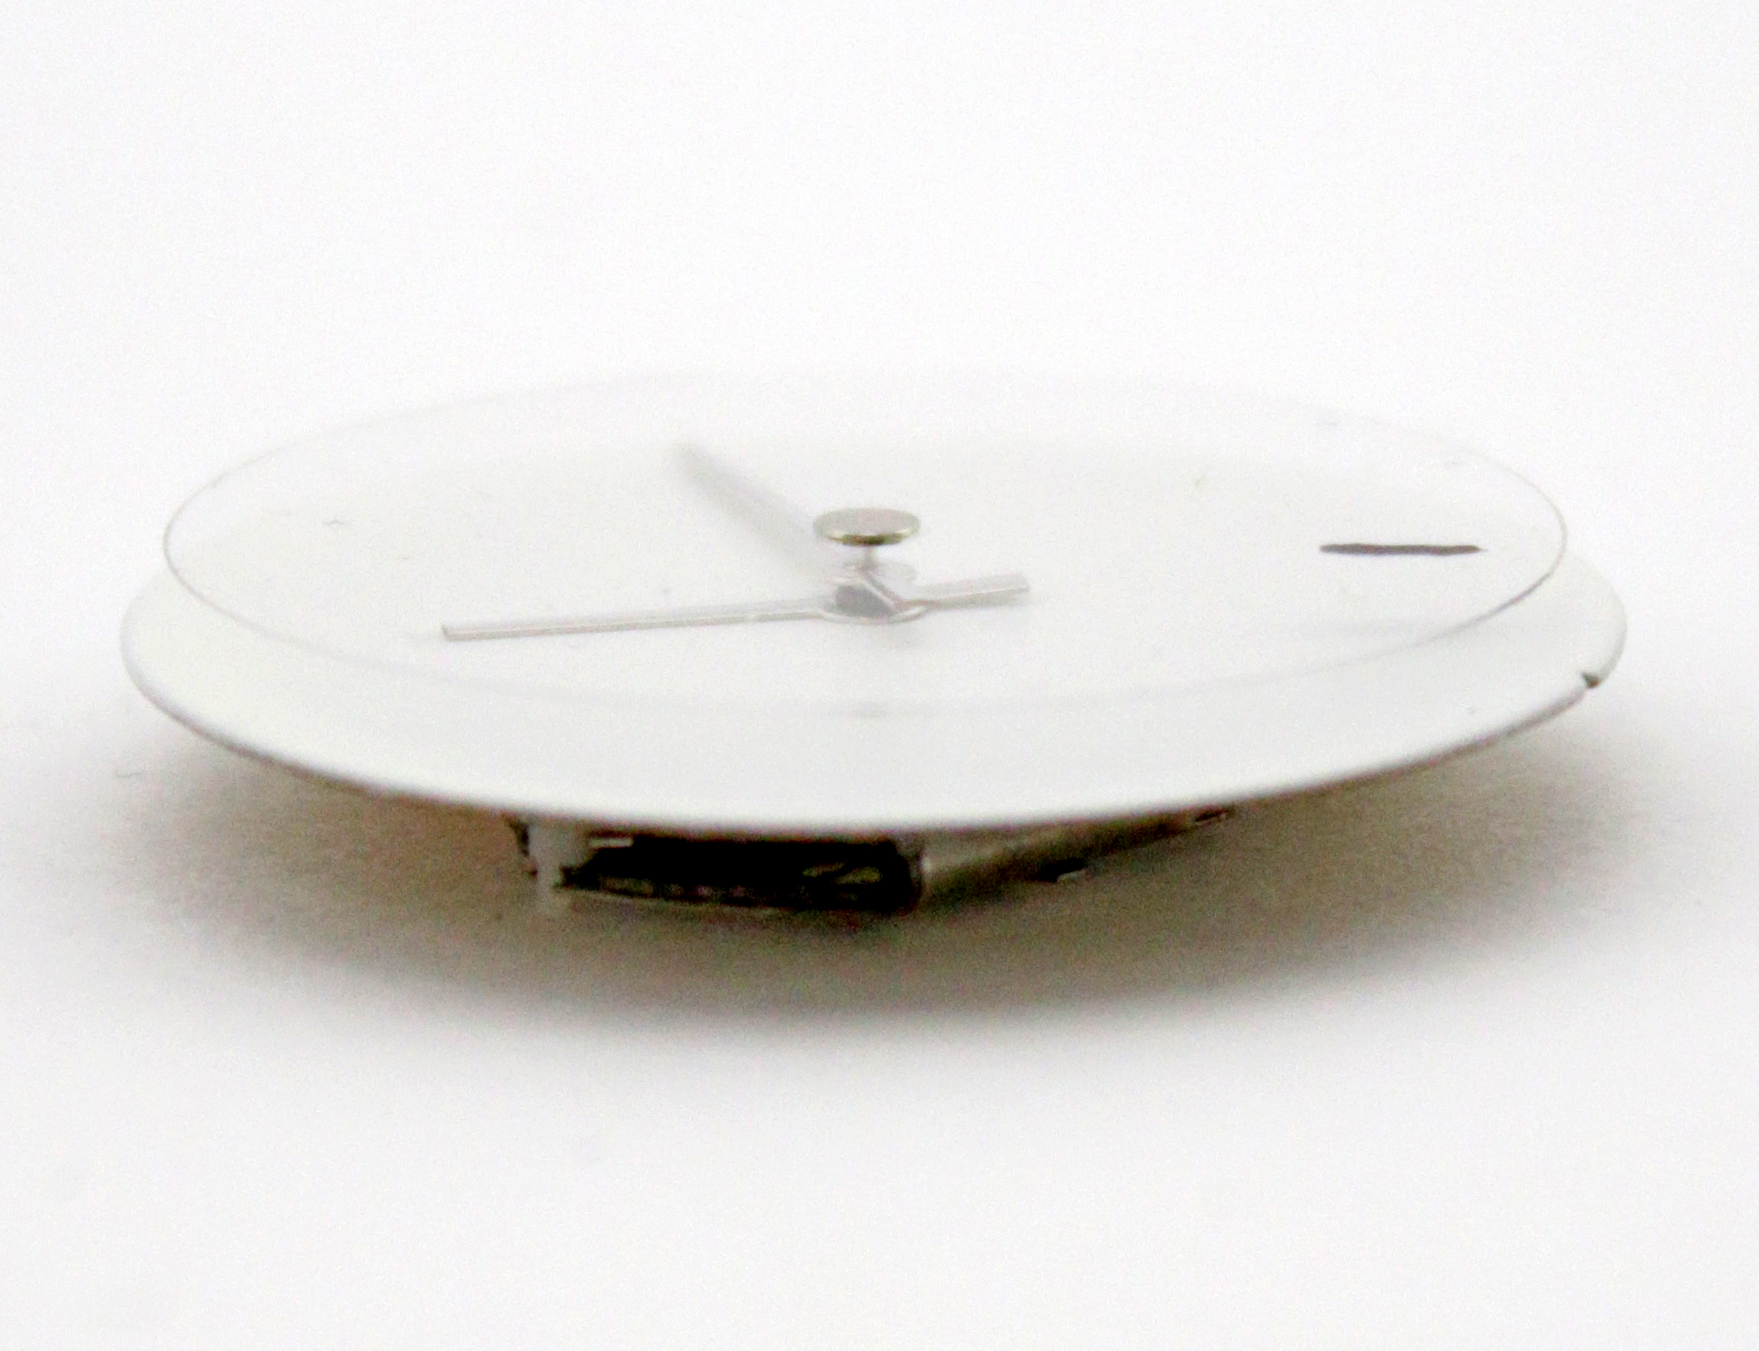 In the Build a Watch Kit, a clear plastic disc is included for use as a second hand rotating disc that can be personalized and used instead of the sweep second hand.
Step 6
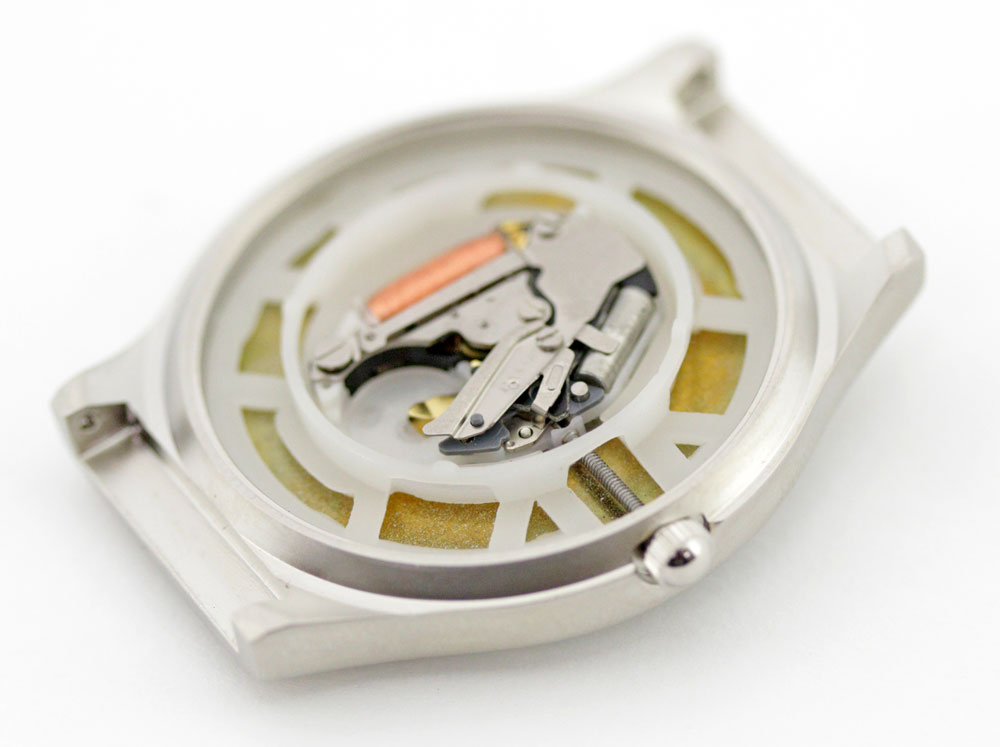
 Install stem and crown

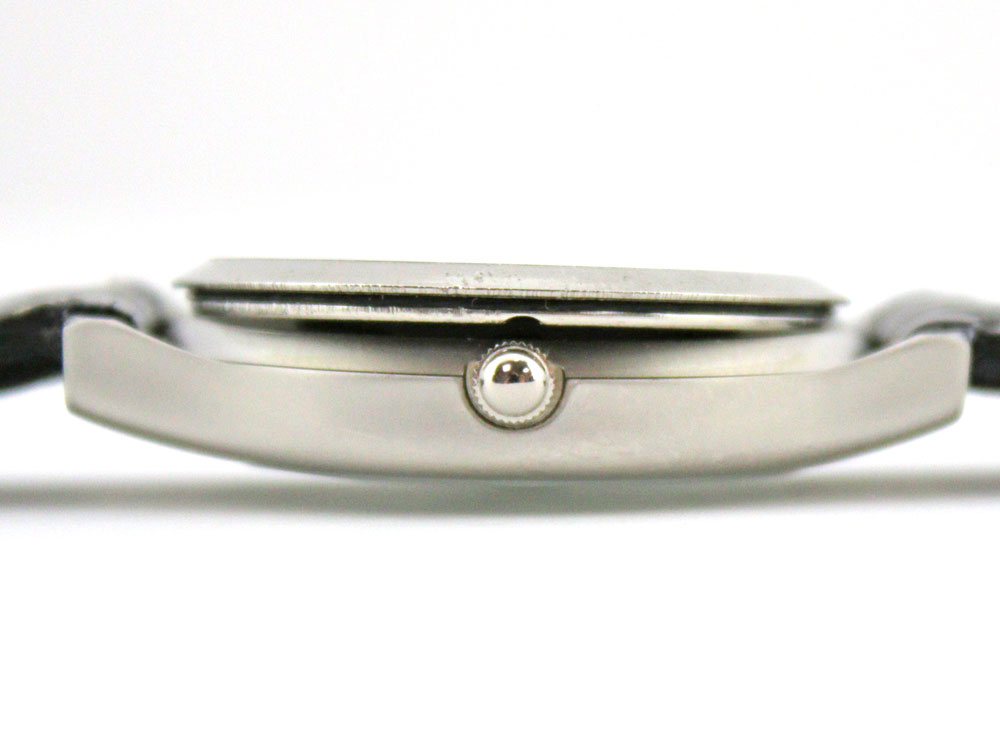
Place the movement, dial and all, into the case. Line up the where the stem inserts into with the case tube. Make sure the case is clean and dust free before doing so.
Insert the stem and crown into the movement until the crown is pushed in all the way against the case.
Step 7
 Place movement ring into case
Put the movement ring over the movement into the case. Gently press it down until it is fully installed.
Step 8
 Place gasket on the watch back

Lubricate the case back gasket with silicone grease. Slip the gasket over the side of the case back lip, hold it in place with your thumb. Then, using your index finger and thumb of your other hand, stretch the gasket slightly to slip it around the rest of the case back and fit into place.
Step 9
 Press the watch back on
Align the notch on the case back with the watch stem and use a crystal press to press the watch back onto the watch. Use a soft cloth to protect the crystal when using the case press.
Click here to learn how to close a snap-on watch back with a press.

Step 10
Attach the watch band
Use a spring bar tool to attach the watch band between the lugs of the case.
Click here to learn how to change a leather watch band.
Great article. I’ve been replacing my own watch batteries for a decade and am slowly learning to make other minor repairs. I love your store and your web site. I don’t plan to become a master but I love learning and doing my own maintenance. Thank you.
Nice all
This is a fantastic resource for anyone interested in getting into watch repair or customization! As someone who appreciates DIY projects, I really like how the post makes a potentially intimidating task feel approachable by breaking it down into simple, manageable steps. It’s great for beginners because it includes practical tips, like double-checking alignments to ensure the watch runs smoothly, which can save time and frustration.
One thing I appreciate is the emphasis on using quality parts from reputable sources—it’s a good reminder that investing in reliable components can make the difference between a fun hobby project and a frustrating one. If you’re new to this, I could see this guide inspiring you to try more advanced modifications later, like adding custom dials or straps.
If you’re planning to follow along, I’d suggest gathering all the tools mentioned ahead of time and maybe watching a video tutorial alongside it for visual guidance. Have you tried any DIY watch projects before, or is this your first one? If you have any questio
Thank you for sharing excellent informations. Your web site is so cool. I am impressed by the details that you¦ve on this website. It reveals how nicely you understand this subject. Bookmarked this web page, will come back for more articles. You, my friend, ROCK! I found just the info I already searched all over the place and simply couldn’t come across. What a great site.