

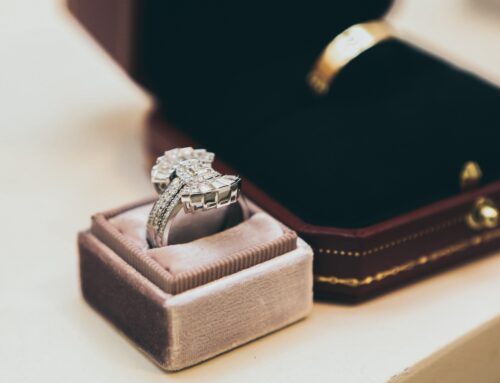
Prongs, though a common setting method, can create many problems if not done correctly. Setting a stone in prongs requires the proper equipment, and resetting a stone or tightening prongs becomes even more difficult if the stone was incorrectly set to begin with. Prongs must rest in a delicate balance: they must be strong enough to keep a valuable stone in the setting, yet as small and inconspicuous as possible so as not to detract from the beauty of the stone. The seats of the prongs must match the contour of the stone as closely as possible and hold the stone securely in place. And, most importantly, there should be no gaps visible between the stone and the prongs, meaning that the prongs must sit snuggly against the stone.
Step 1
First you want to straighten any prongs that may be crooked so that all the prongs are parallel to each other and all point toward the top of the stone. To accomplish this, use chain nose pliers to firmly grab the prong from above, being sure to cover the full length of each prong, and then straighten the prong so that the top of each one is exactly vertical.
Step 2
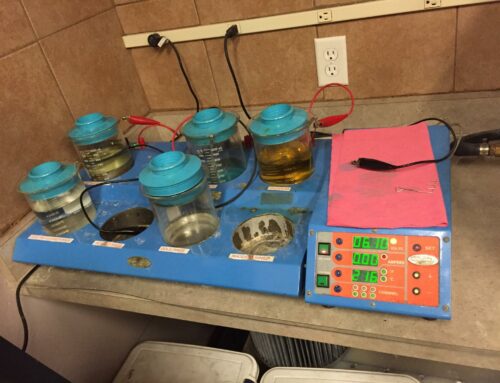
Closing prongs is often difficult because it is common for the prongs to spring back to their outward position, or a little away from the stone, once the pressure of the jeweler’s tool is removed. To keep this from happening, the trick is to push the prong as far inward, toward the stone, as it will go and then push the tip downward toward the stone. The best tool to use is a stone setting pliers.
Step 3
You want to adjust the opening of the pliers so that the grooved short jaw fits on the side of the prong to pull it closer to the center of the stone. Next, place the longer jaw under the setting and the grooved jaw above the setting. Gently apply pressure while keeping the lower jaw steady against the ring. This pressure will be very controllable and the added leverage will force the tip of the prong against the stone and prevent the prong from recoiling.
Step 4
Carefully and systematically tighten all four prongs, alternating between opposite sides of the setting. Once the stone no longer moves in the setting, you will know that it is tight enough. You may not be able to tighten the prongs completely, simply tighten them to the best of your ability.
Step 5
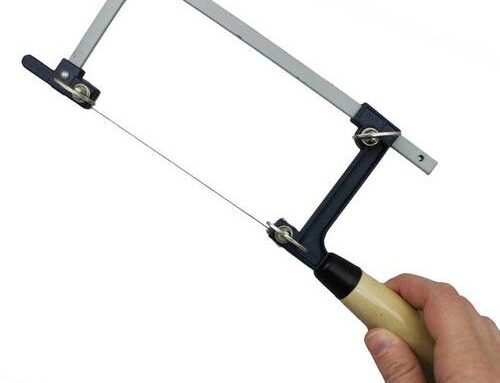
Finally, take a safe-edge needle file to the prongs to round the tips and remove any marks left by the pliers. Make sure that the safe-edge side is toward the stone as you gently work on each prong. You may also use rubberized abrasive wheel on a flex shaft to clean the prongs.
Step 6
Once you are sure that all the surfaces are smooth, lightly polish the prongs and retouch the finish on the entire ring.
You’re right about saying that the prongs I have in my diamond ring will cause a lot of problems for me in the long run if I don’t repair it correctly. For this reason, I think I’ll take my loose jewelry to someone who can repair them for me if I don’t have the equipment to do it. Many of my diamond rings have become loose over time due to overuse, and I suspect that it might be due to humidity as well, but in any case, I know that this should be fixed if I plan to pass them on to my daughter in the future.