When you are making beaded jewelry, instead of fighting with tying knots in your bead cord, and constantly wondering if they’ll stay tied, you can use a hand crimp bead to hold the ends of your jewelry projects securely closed. By using crimp beads, you will find beading to be much easier and that your jewelry will look much more professional.
Using a Crimp Bead:
 Step 1
At the beginning of your beading project, string one crimp bead on your bead cord. Thread one part of your clasp through the string and then thread the same end of the bead cord through the crimp bead again.
 Step 2
Pull the crimp bead close to the clasp so it sits snugly below the clasp.
Step 3
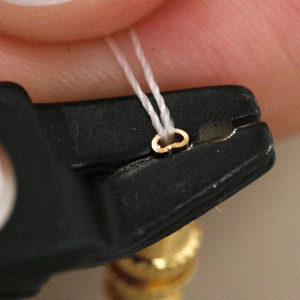
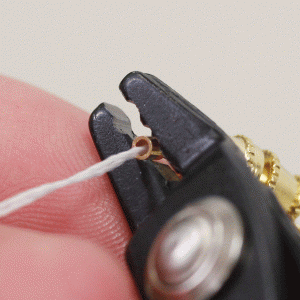 Place the crimp bead in the back portion of the crimping pliers and squeeze it closed with your crimp pliers.
 Step 4
Move the flattened crimp bead to the front portion of the crimping pliers and turn it on its side.
Step 5
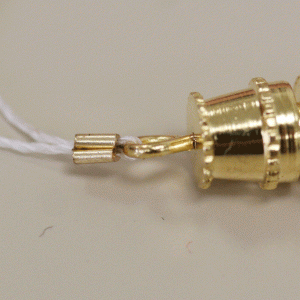
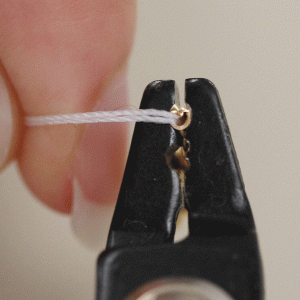 Once it is in place, squeeze the pliers closed, folding the crimp bead in half again so it can fit under a crimp bead cover if you prefer.
Step 6
Finish your beading design.
Step 7
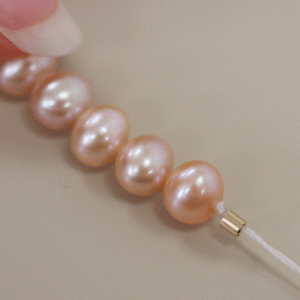 When you reach the end of your beaded jewelry design, string another crimp bead onto your bead cord.
Step 8
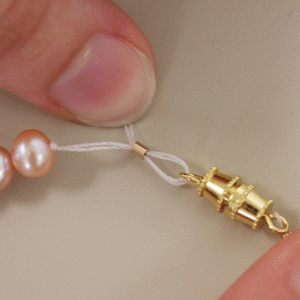 Then thread the other end of the jewelry clasp onto the bead cord, and then pull the bead cord back through the crimp bead.
Step 9
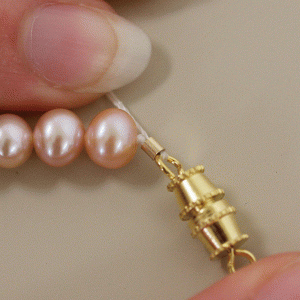 Pull the thread tight so that the crimp bead rests snugly between the beads and repeat Steps 3 through 5.
Visit Esslinger.com’s Learning Center for more beading guides!
Click to See more Crimp Beads:


Loved your beaded jewellery creations! Thanks for sharing how to do bead crimping!