
 What do you do when the dust cover lens of your Flip camera cracks or breaks? The manufacturer won’t repair it, they’re no longer being made, and it’s your favorite portable video camera… Don’t despair! You can fix it yourself and have it working as good as new, as long as the mechanics of the camera are undamaged, with a little help from us.

Before progressing further and buying the replacement parts and tools that you need to fix your Flip camera, be sure to turn it on and try recording something. The video will probably be spider-webbed or show up as fractured, depending on the damage to your lens cover, but you should be able to successfully record something and view it. If you can’t, repairing the lens will not fix your Flip.
 Tools Needed:

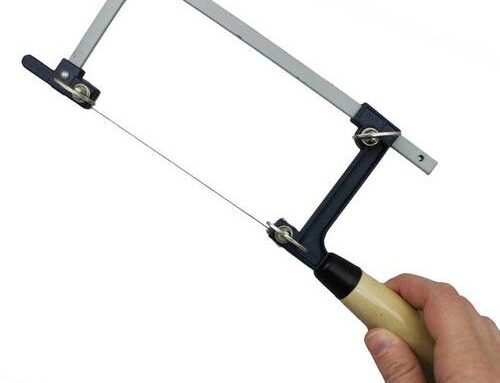
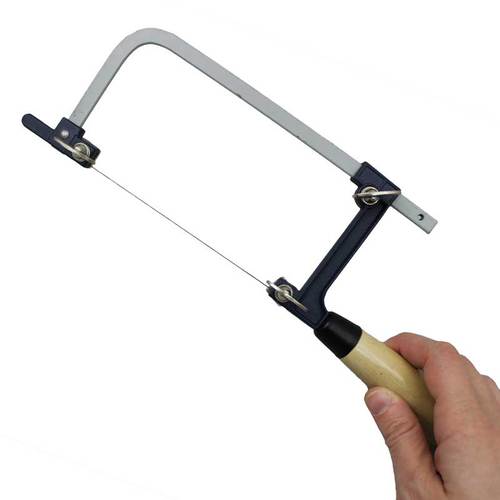
- A sharp bladed bench knife
- A blunt tipped, chain nose pliers
- A dust blower
- A note pad
- A soft cleaning cloth
- A paper towel
- And a Flip Camera Lens Repair Kit
Step 1
 Once you know that your Flip camera does still work, the first thing you need to do to repair the lens of your flip camera is remove the bezel style lens cap. If you examine the camera lens closely, you will see that in the middle of the silver circle that surrounds the lens is a fine break where the bezel joins the watch case. Start by taking your bench knife and running it along the seam between the bezel and the camera to break the seal. Then, use the edge of the blade to gently pry up the bezel.
When a portion of the bezel has been loosened, you can grab the lens cap with your fingers and carefully peel it off the rest of the way. The bezel is very thin and easily damaged so move slowly here. The back of the lens cap will probably be tacky, set it aside face down so you can reuse it later when you put everything back together.
Step 2
Now that the lens cap is gone, you should be able to remove the broken portions of the lens. Use your small and blunt nosed pliers to remove the glass, starting at the edge if the glass is still mostly intact, or at the gap if the lens is more severely broken.
Turn your flip camera on its side as you remove the glass to keep the small shards from slipping and falling into the actual camera lens as this could permanently damage your Flip camera. Set the removed shards of glass on the paper towel so you can clean them up easily.
Step 3
After all the shards of glass have been removed you’ll want to make sure to clean out the inside of the camera. Start by running your finger around the edge where the lens was glued down and make sure there is no glue remaining. Use your mixing stick to gently scrape away any excess glue. Then take your dust blower and use the air to remove any remaining glass debris from the camera. This generally works best when you hold the Flip camera on its side so the debris can fall out and not be pushed further into the mechanics of the camera. Finally, take your soft cleaning cloth and wipe the inside down as well.
Step 4
 Then, once the camera has been thoroughly cleaned, you are ready to place the new glass lens. Take your note pad and place an equally sized dot of each of part of the epoxy close together on the page. Use your mixing stick to combine the two parts together and activate the epoxy. Stir the two parts together for about thirty seconds to properly mix them.
Apply a thin layer of epoxy to the rim of the Flip camera where the old lens rested. DO NOT over use the glue or use superglue as both of these options can damage the inner workings of the camera or lead to the fogging of your outer lens which will damage your video quality.
Step 5
Grab the replacement glass crystal and quickly wipe it down with your cleaning cloth to remove any finger prints before placing it carefully on the camera ledge. If any excess glue squeezes out when you press the new lens into place, wipe the excess away immediately from the camera with your paper towel. However, do not press the crystal into place too hard, as doing so may cause the crystal to slip or move. Let any glue on the central surface of the crystal sit, we’ll remove it later.
Let the epoxy dry for about an hour to be sure that everything is completely set up. Then, once the glue has dried, use your fingernail to scrape up any remaining glue smears in the middle of the crystal and wipe away your fingerprints with your cleaning cloth.
Step 6
Finally, you can replace the film cover bezel. If the cover is still tacky, you can replace it with adding additional adhesive. Otherwise, you can add a thin layer of epoxy to the back of the cover before replacing the cover on the camera. Use both thumbs to press the cover into place until you here it click into place.

Finished
After the cover has been replaced, you can begin using your flip camera again immediately. Simply turn it on and begin filming. For more help with other do-it-yourself repairs, you can check out the rest of our Learning Center.
Great information! Thank you for providing such a clear tutorial.