
If you need to make your metal watch band a little longer, but you don’t have any links to add to it, you can always try adding a buckle extender. Use this guide to learn how to install an arthritic buckle extender to your watch band clasp. You should use an arthritic buckle extender like this one when you need to expand the open length of the band for it to fit easily over your hands without making the band larger so that it no longer sits comfortably around your wrist.
Tools Needed:
- A digital gauge
- A spring bar tool
- A pin punch
- A ball peen hammer
- A watch band holder
- A parts tray
- An extra spring bar
- And an arthritic extender
Step 1
Before you can add a buckle extender, you must first disconnect one side of the clasp from the watch band. The extender will generally attach to the side of the clasp opposite from where it latches closed. Turn the watch case on its side so that the crown is facing up and hold the band so you can reach the inside of the clasp with your spring bar tool.
Take the pointed end of your spring bar tool and insert it into the hole in the top of the clasp where the end of the spring bar is held in place. Press down on the spring bar with your tool until it is out of hole and then push it out from under the clasp. Be aware: you might accidentally fling the spring bar across the room here if you are not careful. Grab the loose spring bar and place it in your parts tray. Let the band a clasp fall apart.
Step 2
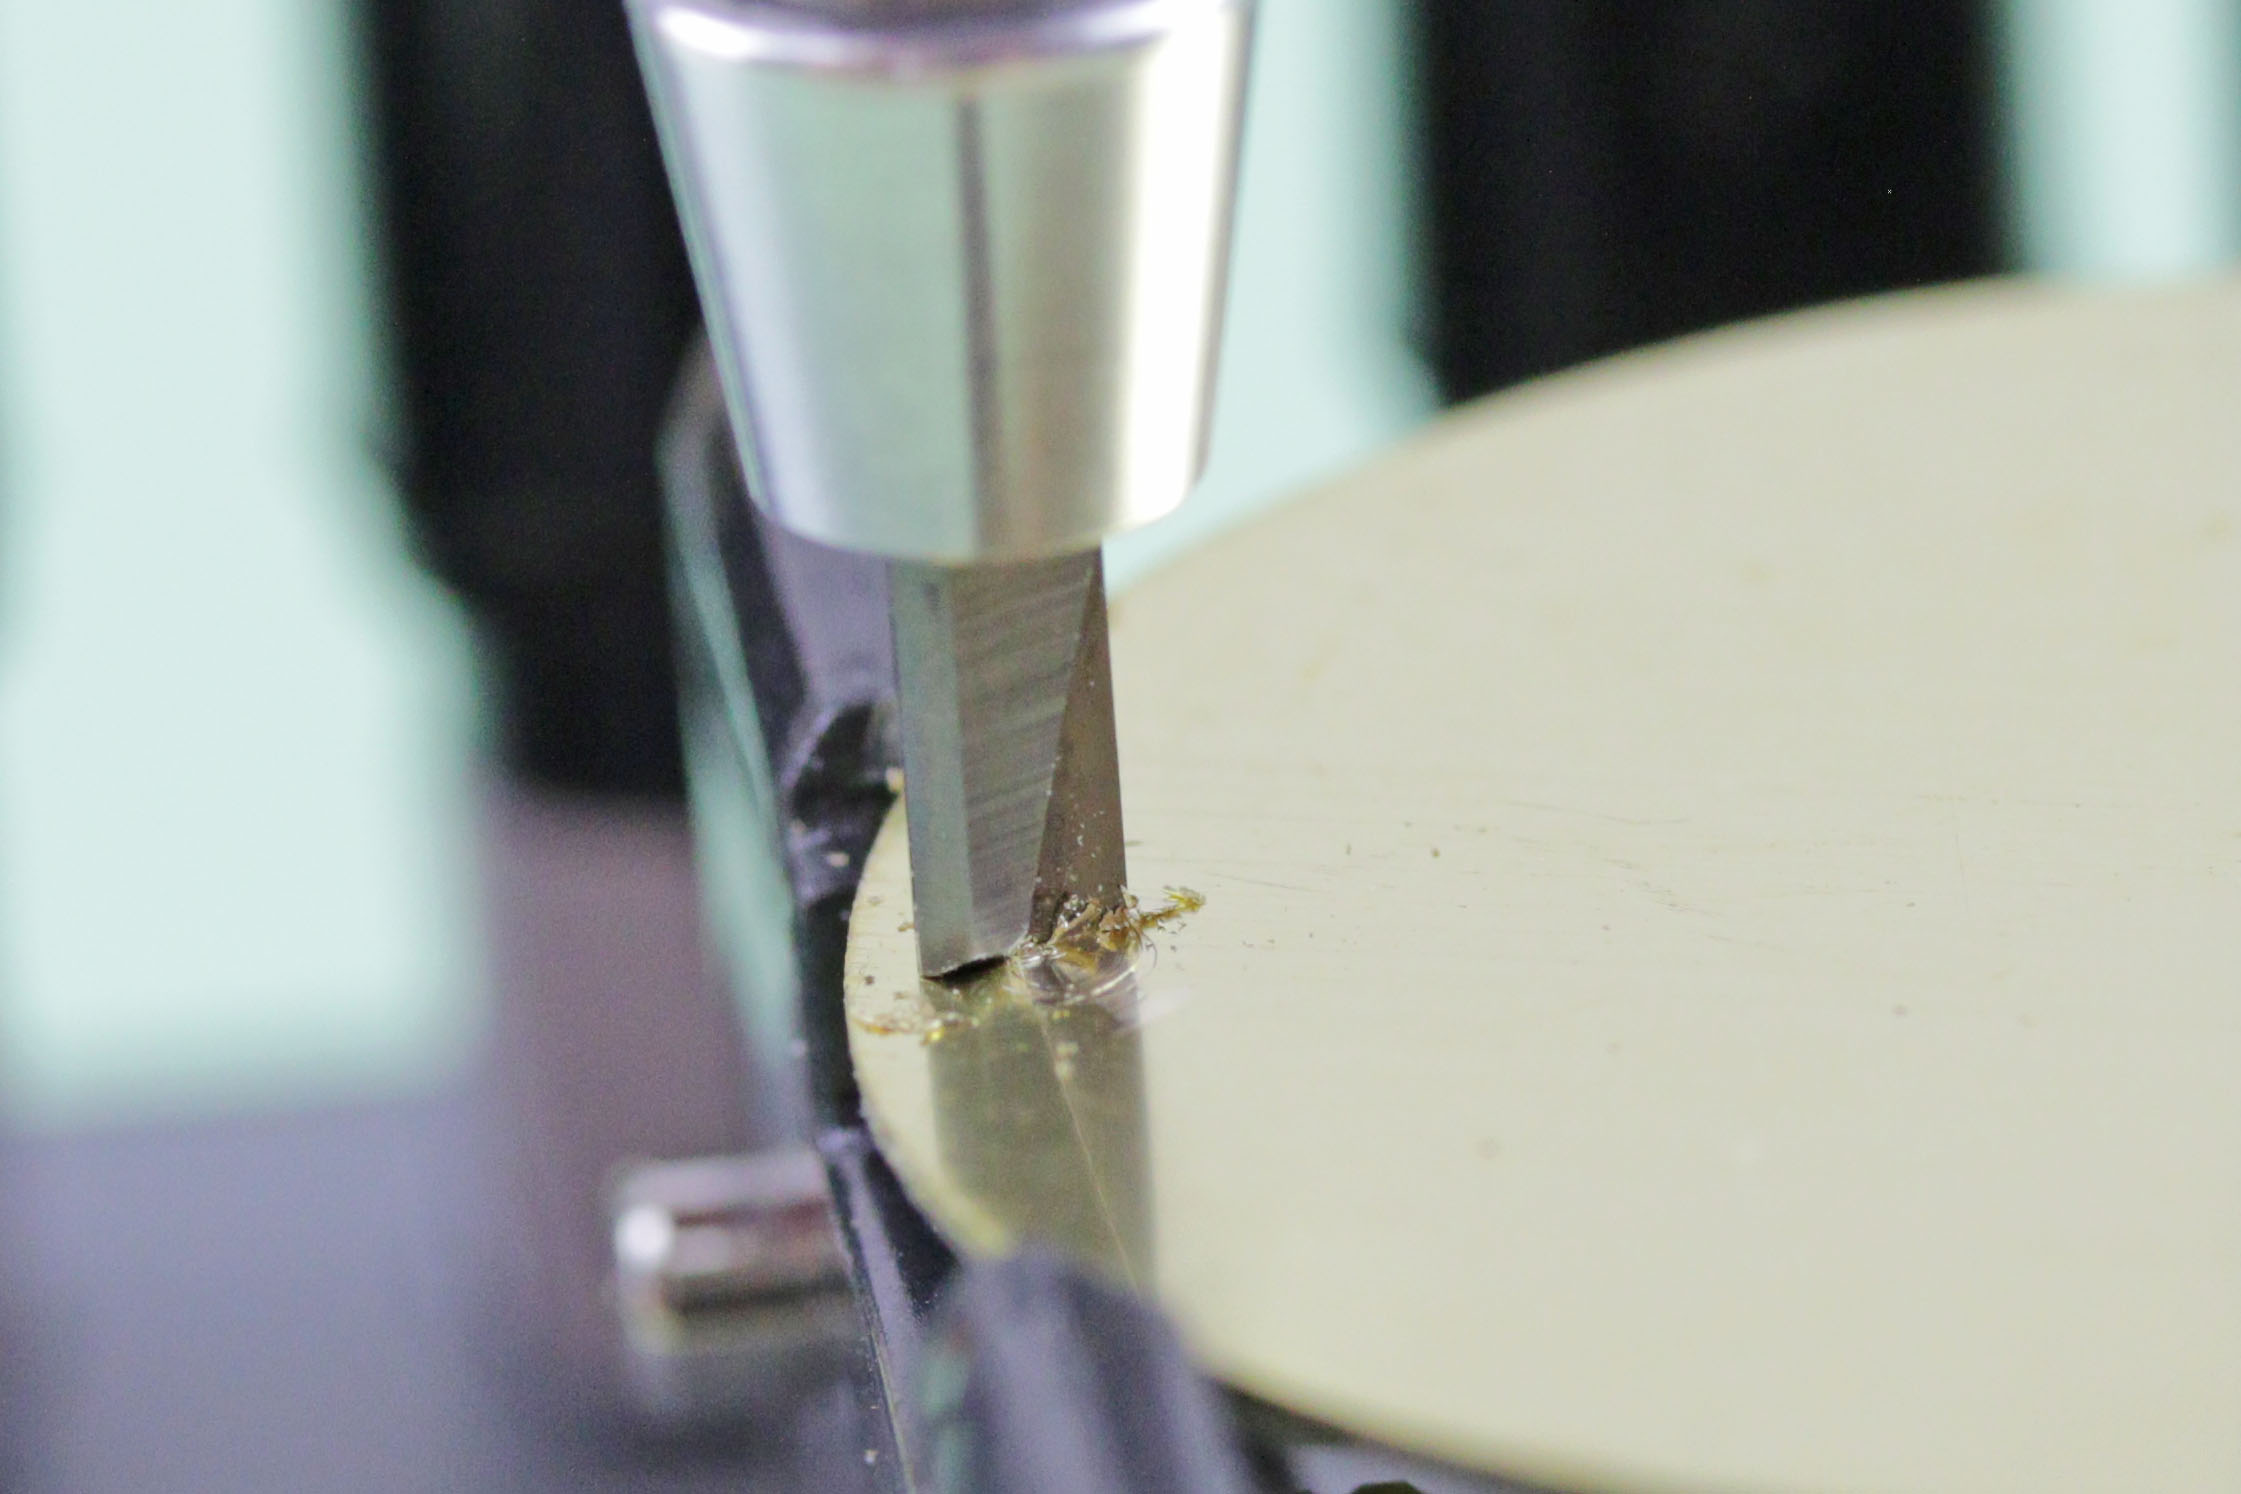
 Now you need to make sure you order the correct size buckle extender to fit your watch band and clasp. Take your digital gauge and line the backward opening jaws up inside the clasp. Use that inside measurement to order a new buckle extender. Be sure to order an extender that matches the color of your watch band and clasp.
 Step 3
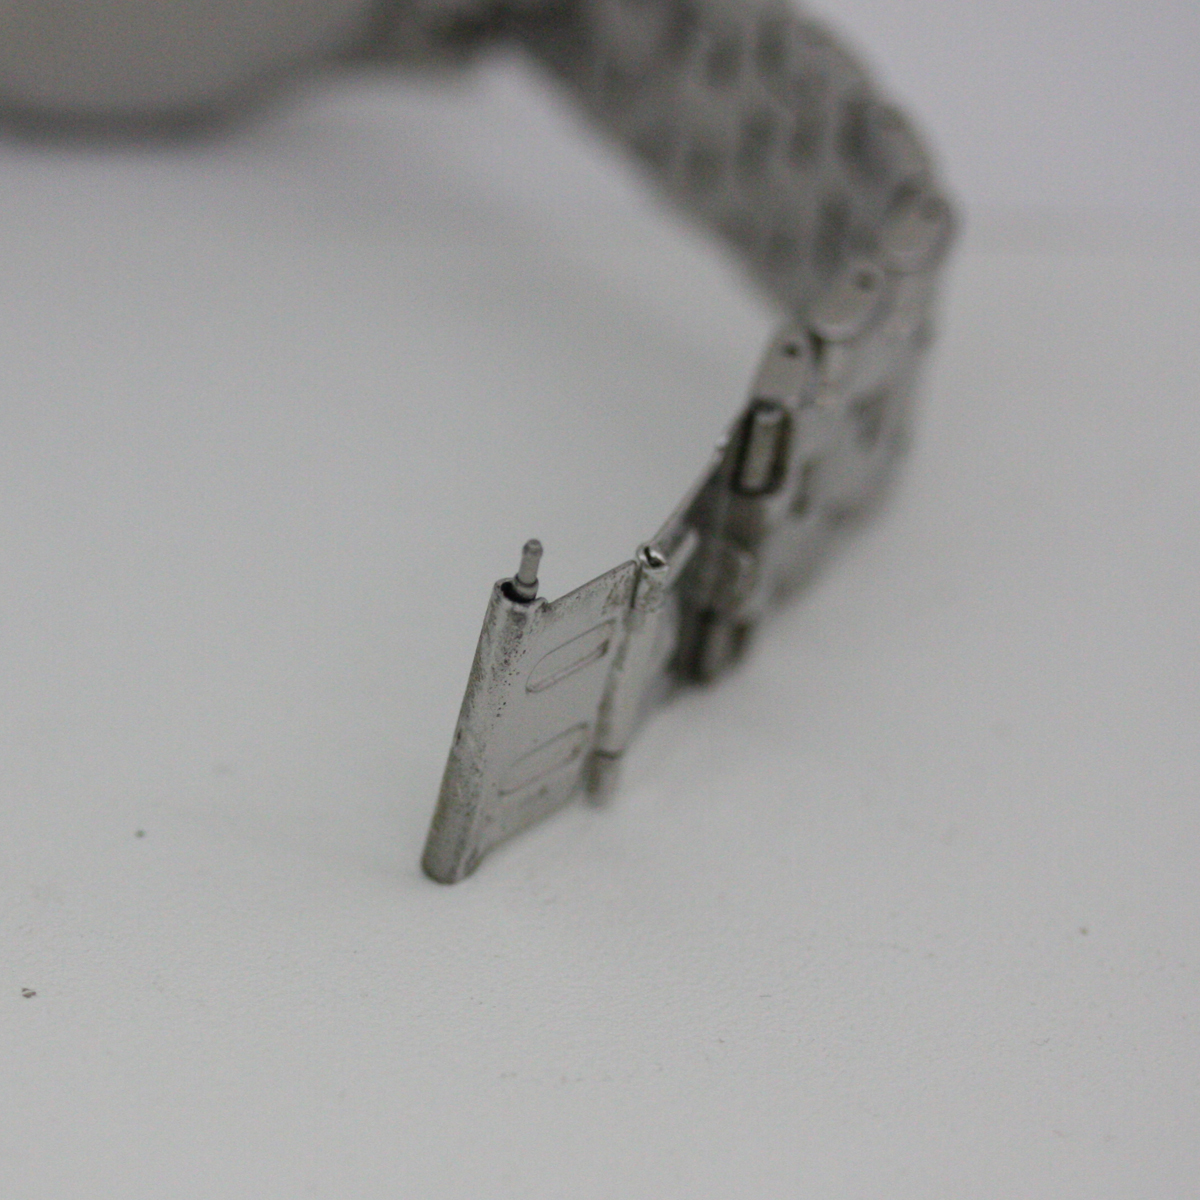
The arthritic extender will have one end with a solid tube and the opposite end will have two small tubes at each side of the end. Start by taking the end with two separated tubes and fitting them on either side of loose end of the watch band like this. Holding the extender and the band together with one hand, take your friction pin and insert it into the hole that should now pass through one tube of the clasp and into the watch band.
Once the pin is partially inserted and holding the clasp and band together, you can place your watch band and extender into your watch band holder to hold everything steady while you finish putting the friction pin into place. Be sure not to line the pin up with a hole in the holder so you don’t accidentally push it out of the other end. Take your pin pusher and align it with the free end of the friction pin. Then, using your ball peen hammer, tap on the pusher to set the friction pin into place. When the pin is flush with the watch band you’ll know it is securely in place.
 Step 4

After you have attached the extender to the free end of the watch band you can remove it from the watch band holder and put the watch band back together by attaching the loose end of the extender to the loose end of the watch band clasp. Take the extra spring bar you have, or reuse the spring bar that you removed from the clasp earlier if it is in good shape, and insert it into the solid tube end of the buckle extender.
Insert the tube and spring bar into the free end of the watch band clasp. Align the bottom end of the spring bar with the bottom hole in the free end of the watch band clasp. Then take your spring bar tool and use the forked end to press the free end of the spring bar down and slide it and the extender completely into clasp. Carefully remove your spring bar tool, keeping the extender inside of the clasp and gently wiggle the extender and spring bar around until the spring bar clicks into place in the clasp.
Finished
Once the extender is attached to the clasp and your watch band is securely back together, you can continue wearing your watch again. To learn more about watch band repair, check out the rest of our Learning Center.
Leave A Comment