
Sometimes your watch band clasp will wear out before your watch band does. If you don’t want to replace your whole leather watch band you can always just replace the clasp itself. Use this guide to learn how to change simple deployment watch band clasp on leather watch bands.
How do you know if your leather watch band has a deployment style watch clasp with buttons? When the clasp is closed it will look like a standard leather buckle with a tongue that has two spring loaded metal buttons protruding from either side of the leather band. And when you open it, the clasp will have a metal portion that folds over on itself much like a fold over or tri-fold clasp does, except it will only permanently attach to one side of the band.
Tools Needed:
- A spring bar tool
- A digital gauge
- A parts tray
- Extra spring bars
- A replacement deployment buckle with buttons
Step 1
The first thing to do will be to remove the old clasp so you can replace it and continue wearing your watch. Start by opening the watch band clasp to reveal where it attaches to the watch band. Since this clasp only attaches to one end of the band, it will be easy to tell which end to start with.
Step 2

Set the band on its side so you can access hole on the top of the band where the spring bar is visible. Take your spring bar tool and insert the pointed end tip into the hole where you can see the spring bar. Push down on the spring bar to compress it and carefully slide the watch band out from under the end of the clasp.
Be aware that the spring bar can unexpectedly expand once it is free and jump across your work space. Keep it from doing so by moving slowly so you can easily pull the spring bar free with your fingers and place it in your parts tray to use later. Let the old clasp fall free of the watch band. Because of the design of the leather band, it should be easy to tell which end the clasp attached to.
Step 3
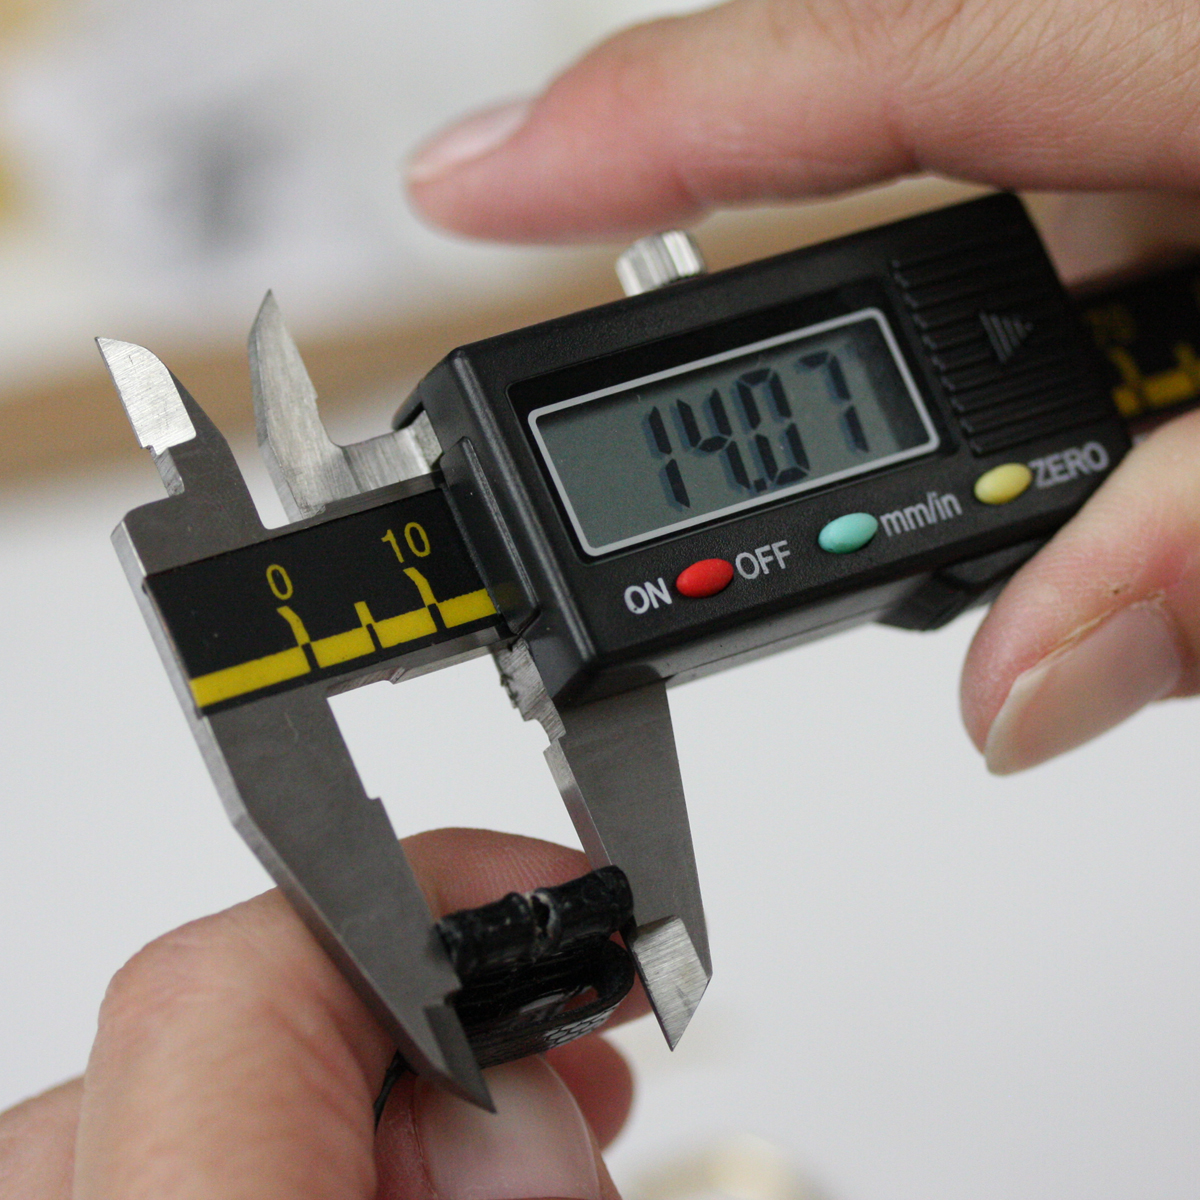
Next, take the free end of your watch band where the clasp attached and measure its diameter with your digital gauge to find what size replacement clasp you’ll need. Order the right size and color replacement watch band clasp, once you have this measurement in hand. Your replacement band should also have buttons, as these clasps provide an extra level of security to your watch band clasp.
Step 4

When you have the new clasp in hand, you will want to attach the inside end of the clasp to the free end of your watch band that you measured before. Start by taking your spring bar and insert it into the free end of the watch band. Then, holding the clasp on its side, turn the band on its side and position the band inside the clasp so the bottom end of the spring bar rests in the hole for it in the clasp. Be sure that when you close the clasp it will sit inside the band and be hidden from view.
Step 5

Next, take your spring bar tool and use the forked end to press the free end of the spring bar down and into the watch band so you can slide it completely into the watch clasp end. Once the watch band is inside the clasp, carefully remove your spring bar tool and wiggle the watch band around under the clasp until the spring bar slips into place in the hole in the clasp. You may have to do with more than once to get it in place.
With the watch clasp attached, check to make sure that the clasp will close correctly on your wrist. If not, remove the clasp and reposition it with the watch band.
Finished
Once the band and clasp have been securely attached to each other and the clasp closes correctly you can wear it again with pride. To learn more about watch band repair, check out the rest of our Learning Center.

Leave A Comment