
Sometimes, when a ring gets old, the shank wears down and begins to thin. When that happens the best way to repair the ring is to replace the shank itself. And this is how you can accomplish that:
Step 1
When you have determined that you need to replace a half shank on a ring, you will need to order or make a new half shank to replace the old one. Measure the current shank to be certain of the size, thickness, and width you need in a new shank. Order a half shank that matches the karat weight and color of the metal the ring is made of.
Step 2
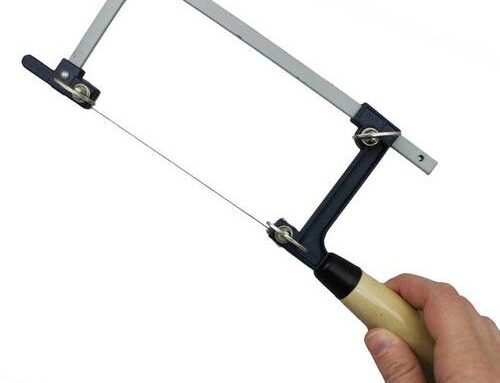
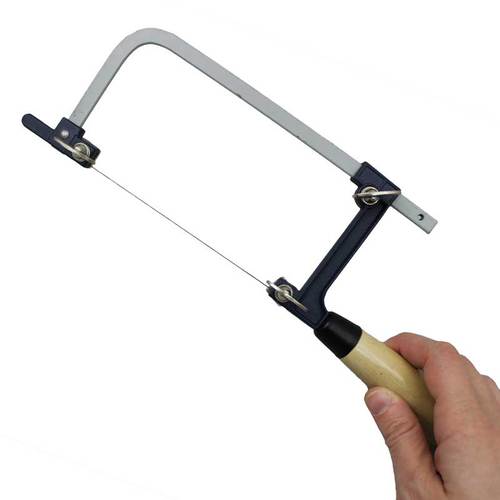
Next, mark the portion of the shank that you intend to remove from the ring. Now, using your jeweler’s saw, remove the portion of the shank that you marked. File the edges of the shank flat. Then lay the new half shank next to the ring and mark where they meet, be sure to leave an extra millimeter at each end to allow for the creation of dovetail joints.
Step 3
To create dovetail joints, on each edge of the half shank file a 90 degree V-shaped slot. The best tool to use for this is a square needle file. Next, you will take the ring itself and, on the edges of the existing shank, file arrow shapes that will match the V-shaped slots in the half shank. Adjust these edges until the ring and half shank fit together perfectly.
Step 4
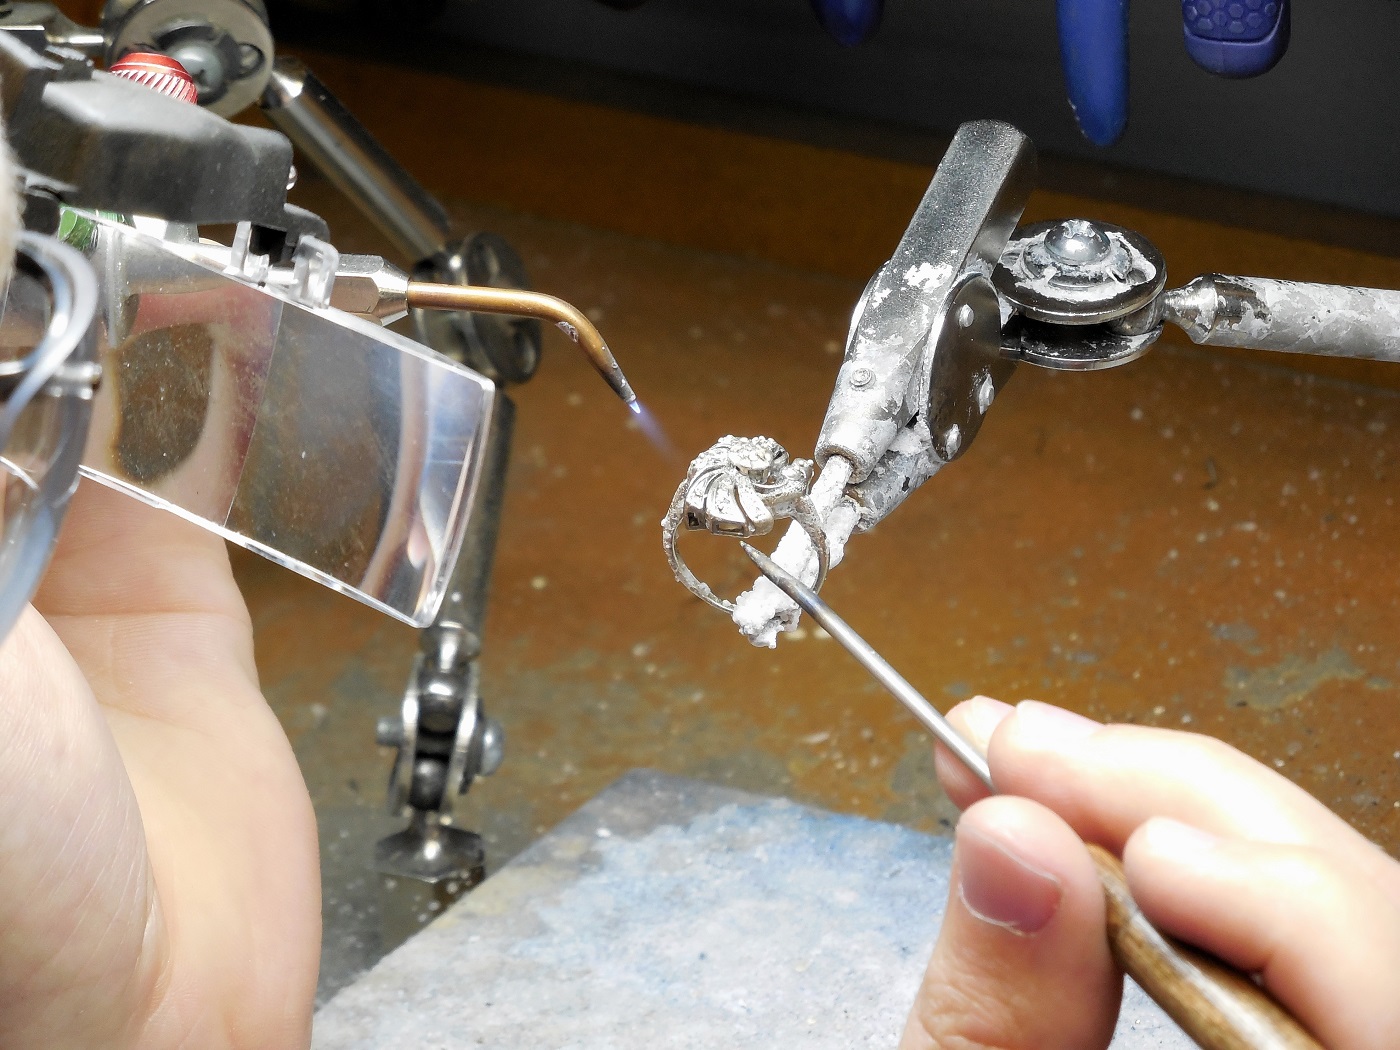
You are now ready to prepare the ring for soldering. Use the method of your choice to hold the halves of the ring together so that you are free to use both hand. Fire coat both halves of the ring and then flux only one seam. To keep from shocking any stones in the ring, warm the ring slowly. You can then apply a small piece of solder to the seam. Direct the heat to pull the solder through the seam. You now have a chance to correct any mistakes made on this seam before moving to the second seam.
Step 5
Flux the second seam and apply a small piece of solder. Once the solder has been applied you can adjust the flame to draw the solder through the seam. When the solder has flowed, you can examine the ring for any mistakes and correct them. Let the ring cool.
Step 6
Place the ring in the pickle to remove the fire coating. Then rinse and dry the ring. Check the roundness and size of the ring. File the interior so the inside of the shank is smooth all the way around. The pieces should conform to each other perfectly, if not, file and shape them so they do.
Step 7
Now, buff the ring and clean it. Once it has been buffed, you can polish it with rouge. The ring will need to be cleaned again after that, but after the second cleaning the ring should be restored to its original luster. Visit Esslinger.com’s Learning Center for more useful guides.
It was really interesting to learn about how to replace a half shank. My sister broke a ring of hers. Getting it repaired by a professional would be really helpful.