
There are many types of adhesives, glues, and epoxy’s to choose from but make sure that your choice will stick to metal surfaces. Another option for using glue or epoxy that will not actually have glue stick to the coin is to let the glue dry using the glue droplet as the spacer to tighten the coin in place. Using this method can be tricky as it is difficult to guess how much glue will be thick enough to tighten the coin in place. When dry, the epoxy will harden to a very rigid surface that will hold the coin safely in place.
Tools Needed:
- A jeweler’s screwdriver with a small flat blade
- Jewelry Epoxy
- Watchmakers pegwood with a sharpened point or a toothpick
- And a notepad of paper
Step 1
Start by removing the coin from your coin bezel with your flathead screwdriver. Set the coin aside where it won’t get lost.
Step 2
Take your jeweler’s epoxy and place equal amounts of each part of the epoxy on a notepaper, just a small drop of each should be sufficient.
Step 3
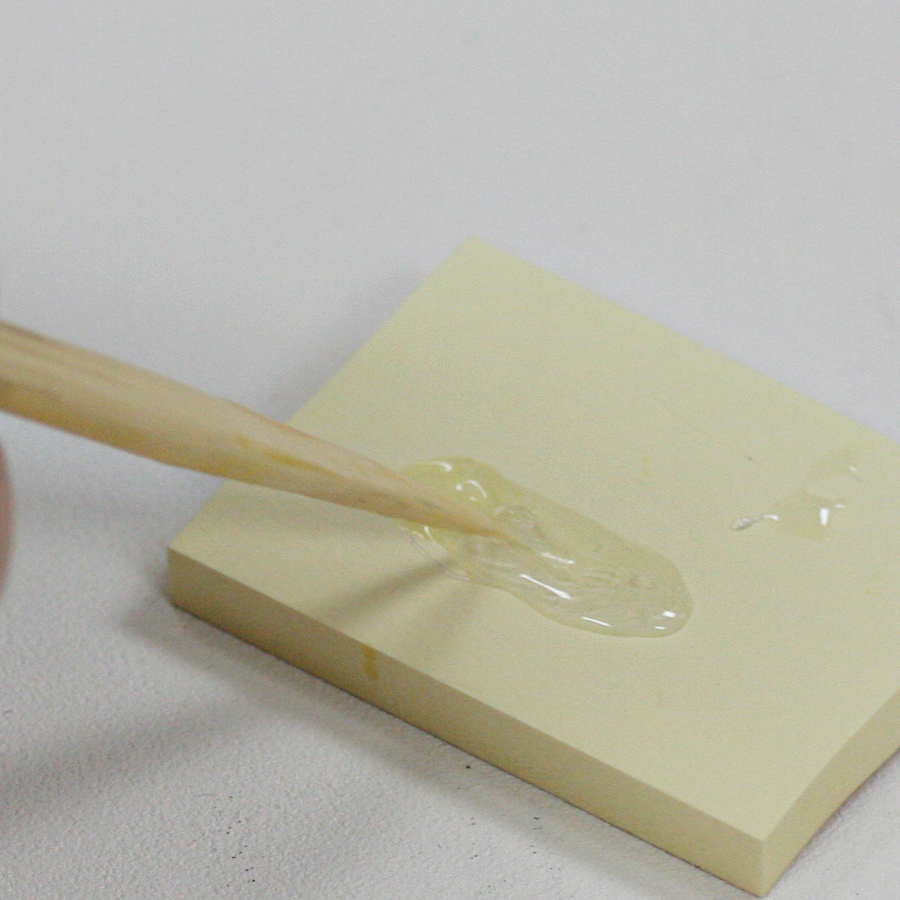
Mix the epoxy for about 30 seconds using a sharpened pegwood or toothpick to activate the bonding agent.
Step 4
Place two small drops of epoxy inside and at the bottom of the coin bezel. Make sure they are spaced a few millimeters apart to securely hold the coin later for two sides. DO NOT spread them out along the inside of the setting.
Only place the glue on the inside ridge around the very outside where the coin will touch, and start by making the glue drops smaller to allow for adjustments later if necessary.
Let the glue dry.
Step 5
When the glue has dried, open the bezel to fit the coin into place. Start by placing the bottom of the coin over the clear epoxy spacers at the bottom of the bezel first. When the coin is in place, pinch the bezel closed and check the fit.
Step 6
If the coin is still loose in the coin bezel, remove your coin again and using your pegwood, build up your two glue drop spacers a little more. Once the glue drops dry, try fitting the coin in the bezel again. Repeat this process, building up the glue drops a little at a time until the coin fits snugly in the bezel setting.
Finished!
Once you are satisfied with the way the coin fits in the bezel, insert the screw back into the bezel and tighten it into place with your screwdriver to ensure the coin is held securely.
While putting the screw back into place make sure not to over tighten it, which can strip the threads of the screw and its fitting. Visit Esslinger.com’s Learning Center for more useful guides.
See “Option 2” in Video:
Leave A Comment