
When it is impossible to stretch a ring to make it the correct size, you must cut the shank and add metal to the ring. That is the method focused on in this article.
Step 1
Clean the ring, taking into account the stones and any special care they may need. Then, check the ring to see if it has been sized before using visual examination and heating or iodine testing. This will determine if there are any other special considerations to be taken into account before beginning to size the ring.

Step 2
If the ring has been sized previously, cut through the old seam before sizing it. This way you will remove all old solder and not have to worry about it in your repair work. If the ring hasn’t been sized before, cut through the center of the bottom of the shank. Use the nub on your bench to steady the ring as you work.
Step 3
To make a ring one size larger you will need to add metal to the ring. A piece of gold that is 2.54 or 2.5 mm wide will need to be inserted to increase by just one size. Using a slide caliper or metric ruler, get as close to 2.5 mm as possible and set your dividers at the correct width. Then use the dividers to mark the piece of sizing stock. (Be sure to pick the sizing stock that is the same thickness and width or larger than that of the ring you are sizing.)
Step 4
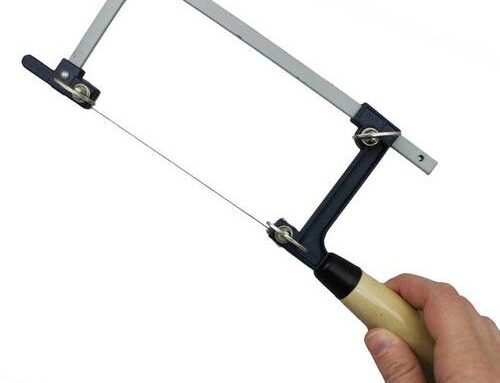
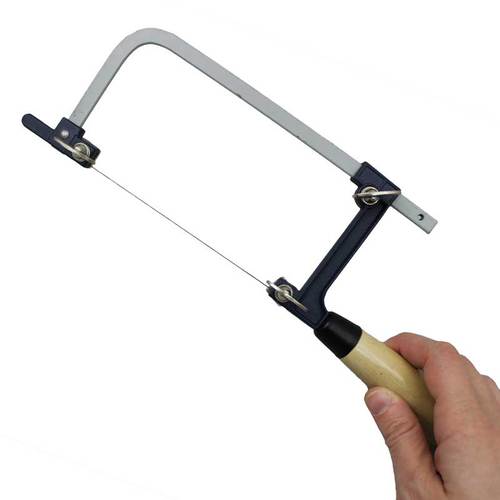
If you can’t find a piece of stock that closely matches the shank of the ring, then cut a piece of sizing to match the ring. A file or saw will work to trim the piece of sizing stock. Do not completely detach your piece of sizing stock from the original piece, that way you will have something to hold on to during the next steps in the sizing process.
Step 5
Place the ring on a mandrel and slide it past the desired size. Place the piece of sizing stock in the opening you just created in the shank and then slide the ring back down the mandrel until the tension in the shank holds the sizing stock in place. Be sure both seams where the shank and sizing stock meet are tight and no light can be seen between them. If there are gaps, readjust the stock as necessary until no light can be seen through the seams.
Step 6
Grip the sizing stock with a pair of stationary tweezers and suspend the ring upside down from the sizing stock. Now you are ready to fire coat the ring. Once you have fire coated the ring, flux the seams and set two pieces of hard solder on the outside of the shank on the seams so that the solder touches both the sizing stock and the shank.
Step 7
Turn on your torch and adjust the flame. Now, warm the entire ring so as not to shock the diamonds in the stone. (If there are heat sensitive stones set in the ring be sure to protect them from the heat.) Once you have heated the ring, heat around the seams. Then focus the heat on the inside of the seams to draw the solder completely through the seams. To cool the metal, quench the sizing stock, NOT the diamonds. When it has cooled, examine your work and be sure that the solder flowed completely through the seams. Pickle, rinse, and dry the ring before you begin this next step.
Step 8
Steady the ring against your bench pin and cut off the sizing stock with a saw. Be sure to leave about .5 mm of excess.
Step 9
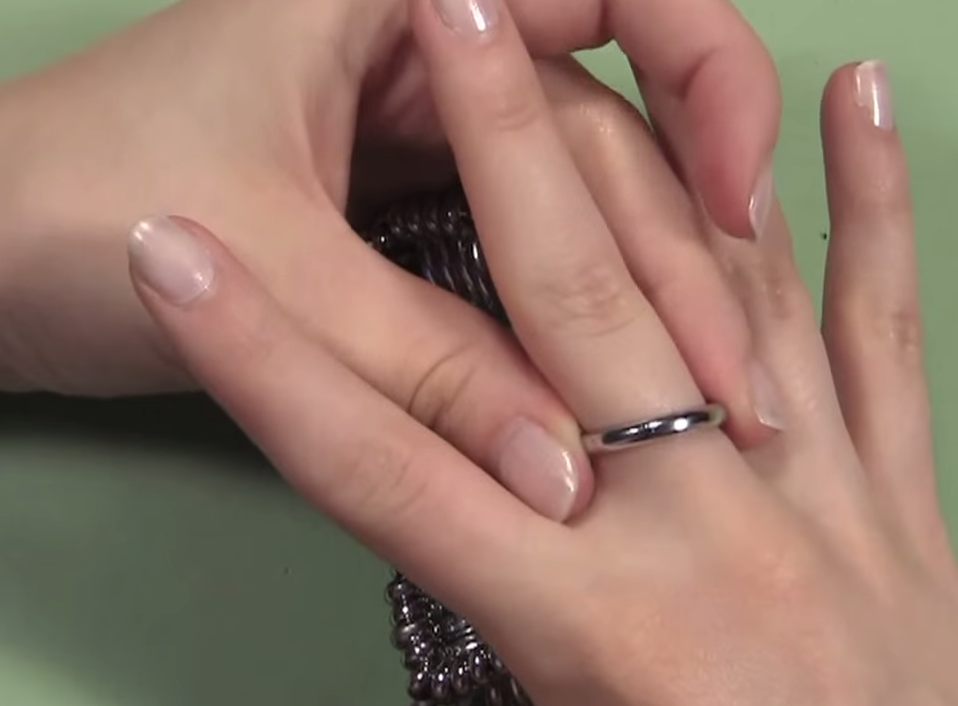
Place the ring on a mandrel and measure the size of the ring. It should be just a little too small, as the excess material inside the shank prevents the ring from sliding to the desired size. Depending on how much smaller the ring is than desired, either grind of some of the excess on the inside or tap the sizing down to stretch the ring out. Remember that you will still have to do some grinding on the interior of the shank, so be sure that the ring is still just a hair too small.
Step 10
Now you are ready to clean up all remaining excess material and bring the ring to a finish. Start with the inside of the shank, and carefully remove the excess material. You can use an inside ring file, which is a slower but more accurate method, or an abrasive grinding wheel, which is a faster but less accurate method. Choose the method that will best meet the needs of this particular ring. File the new stock to match the contour of the ring, both inside and out. Do not remove any more metal than is necessary to achieve a smooth finish.
Step 11
You can now buff and polish the ring to return it to a bright luster. Once this is complete, measure the ring to ensure you have reached the correct size. Visit Esslinger.com’s Learning Center for more jewelry guides.
Leave A Comment