If your metal watch band is too small, you can sometimes make it larger to ensure a perfect fit by adding links. You can use this guide to add U-clip style links to expansion watch bands. You can recognize an expansion band by its flexible and stretchy style, and you can identify a U-clip style band by looking at the edge of the links. If you look at the edge of the link and the two sides appear to be connected by solid vertical bars, you are dealing with a U-clip style link.
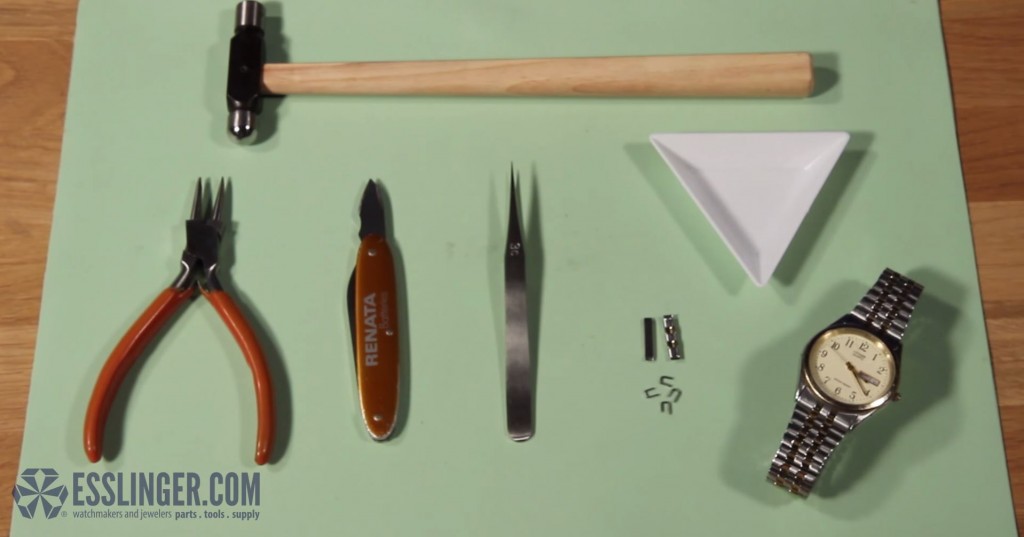
Tools Needed:
- A bench mat or other protected surface
- A watchmaker’s bench knife
- A pair of non-magnetic tweezers
- A pair thin nose pliers
- A parts tray
- And additional links and plate pins
Step 1
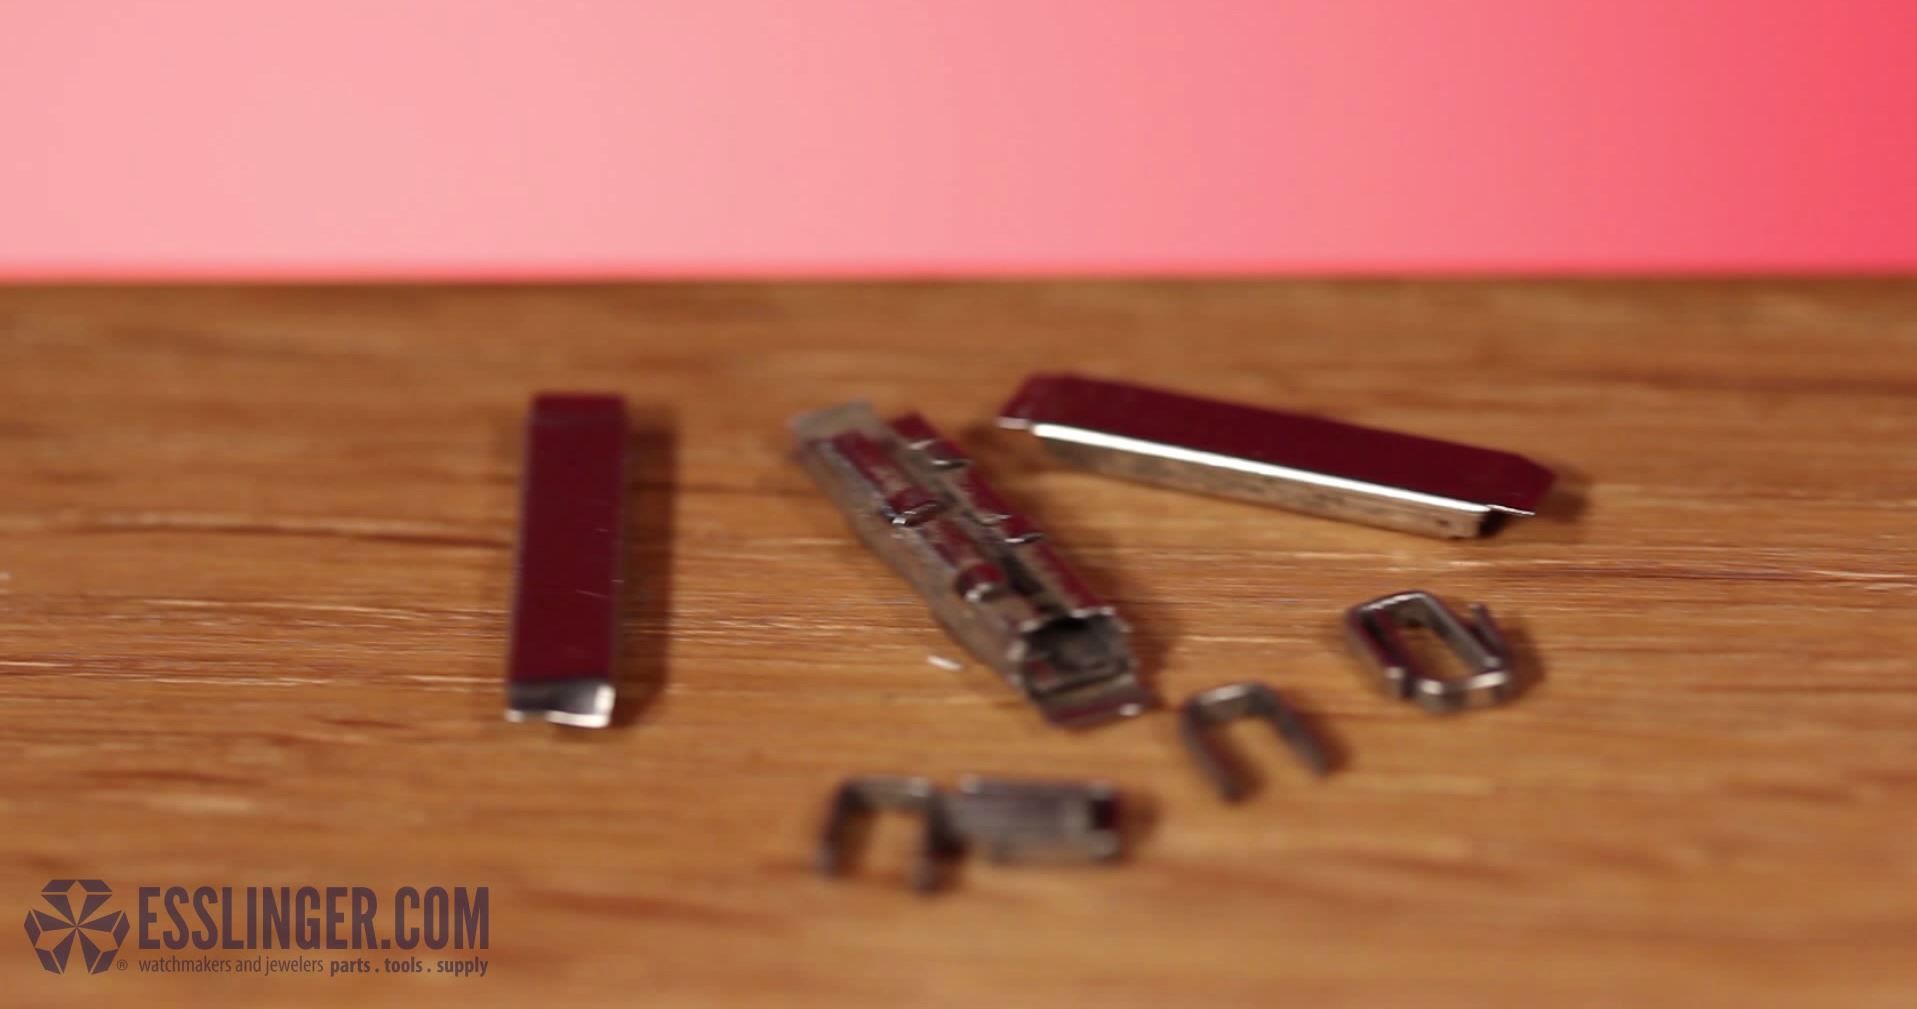
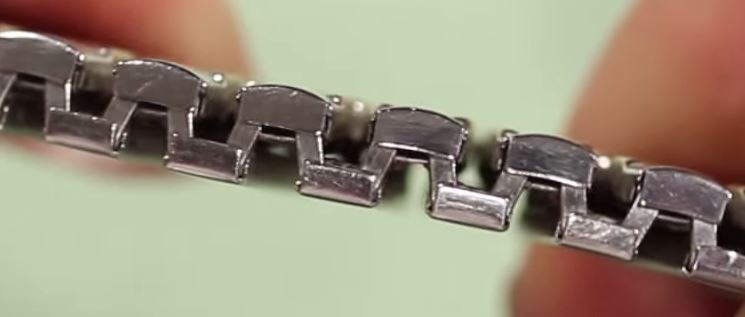 If you have previously removed links from your watch band, find the extra links and pins that you removed. You can use them to add links to your band without having to purchase new parts or links. If you don’t have extra links, you will need to order additional links if you can.
Since it is difficult to determine how many links you need to add to your watch band, it is best to start by opening the watch band and then estimating the number of links to insert. Unlike regular watch bands, expansion bands rarely have clasps so we will start by opening the band at the middle to keep the band centered on your wrist.
 Step 2
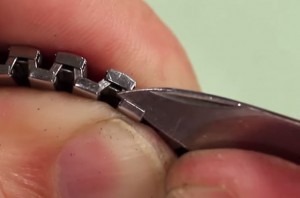
Place the watch band on your bench mat on its side with the flat inside of the band facing you. The first thing you are going to do to remove the links is to peel open the tabs of one base link. Find where the link turns up toward the top link covers and slip the blade of your bench knife under the tab.
Grip the band and press your thumb into the back of the band over the link. Pry the tab up by lifting the knife blade up and turning it toward your thumb. You may have to do this several times before you open it enough to work with.
Step 3
After the base link tab has been lifted open, turn the band around in your hand so you can lift the tab of the link cover over the base link you started working on. Since these links do not line up directly over one another, you will have to pick the link cover closest to your base link. Slide the bench knife blade under the tab of the link cover and grip the band to prepare to pry it up. Lift the knife blade up and turn it toward you to open it. Repeat this until the tab is fully open.
If you have trouble opening the tabs so they are parallel with the watch link, you can use your pliers to pull the tab open more once you have it started with your bench knife.
 Step 4
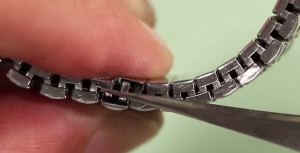
Once the tabs are open, you will be able to access one mutual u-clip between the link cover and the base link that holds them together. It should look like one bar that is perpendicular to the edges of the watch band. Take your non-magnetic tweezers and lift the clip out of band one at a time.
The fine point of your tweezers will allow you get under the clip, but you may need to use a pair of thin nose pliers to pull them out completely if it is particularly difficult. When the clip is free you can place it in your parts tray.
Step 5
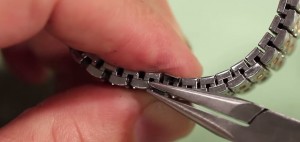
Flip the watch band over so you can open the tabs on the other side of the link you’ve been working on. Start by lifting the tab of the base link that you have already partially opened.
Insert the blade of your bench knife under the tab and grip the band securely. Lift the tab by bringing the knife blade up and turning it toward your fingers to pry it open. You may need to do this a couple times to get it open wide enough to work with.
 Step 6
Turn the band around again so you can open the link cover tab as well. Slip the blade of your bench knife under the tab of the link cover you have already partially opened. With the band gripped firmly between your fingers, twist the knife blade toward your thumb and lift up to open the link cover tab. You can use your pliers to open it the rest of the way once you get it started if necessary.
Step 7
Once the two tabs are open on this side of the band, you will be able to access the other u-clip that holds the band together. It will look like one bar that is perpendicular to the edges of the watch band. Take your non-magnetic tweezers and lift the clip out of band. The fine point of your tweezers will allow you get under the clip, but you may need to use a fine nose pliers if the link is sticking in the band. When the clip is free you can place it in your parts tray.
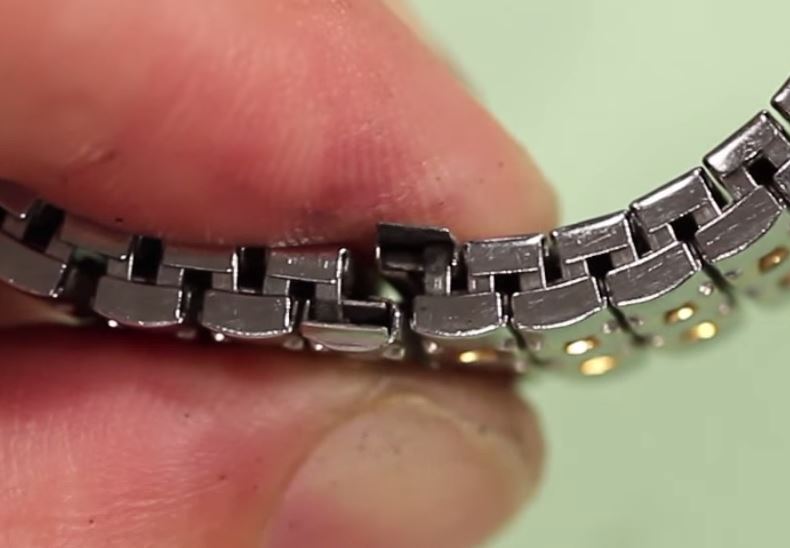 Step 8
At this point, your band will fall open and you can estimate the number of links to add. Position the band on your wrist like you would normally wear it. Turn your wrist over so you can see the inside of your wrist where the band is opened. Hold the ends on your wrist so that the band rests on your arm like you would like it to. Take your extra links and lay them in the gap inside your wrist until they fill the space. Note that most extra links come in sets of several links.
Set the chunk of links aside and if you need to adjust them to fit into your band, do so by removing links from the sets like you did to open the band. When you have the right set of links arranged to fit inside your watch band we can add them to the band and close the gap.
Step 9
Take the watch band in your hands and hold the loose end of your watch band together with the loose end of your extra links. You should have a partially attached link cover that fits over a partially attached base link.
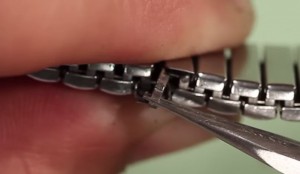
Grab a u-clip from your parts tray with your tweezers. Be sure to hold it on the “u” portion. At this point, you need to insert the clip back into the two link portions. Start by inserting one end of the clip part of the way into the opening in the base link. Then, slide the link cover portion of the link in under the free end of the clip. The free end should slide into the gap in the link cover. Once both ends of the u-clip are in the link pieces, push it down to lay flat with the other u-clips. It may take you several tries to get the clip into position in the link pieces.
Step 10
Holding the band firmly in your hands, close the two open tabs over the U-clip you just inserted. Press them down and back into place one at a time with your knife blade.
You do not have to push the tabs completely flat again, you just need to close them enough to keep the u-clip in place when you insert the clip on the other side.
Step 11
Turn the watch band over when the first tabs are closed enough to keep the u-clip in place and prepare to insert the other u-clip. Grab another loose u-clip with your tweezers so that the two ends of the clip are pointing down. Hold the band partially open so you can insert one end of the clip into the gap in the base link first. Stop when the end of the clip is partially in the link.
Bring the other end of the band back toward the base link with the partially inserted u-clip, and position the free end of the clip in the gap in the link cover. It may take you several tries to get the clip positioned in both portions of the link. When the clip is in both parts of the link, let go of the clip with your tweezers and use it to push the clip fully into place from above with the end of the tweezers.
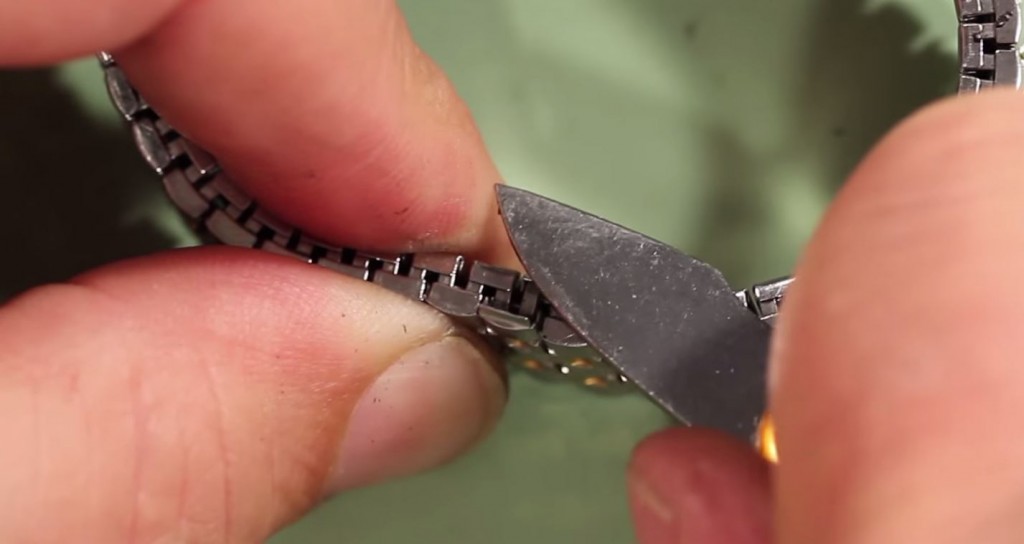 Step 12
With the u-clip securely in place, push the two tabs closed over the end of the link. Take your knife blade and push the tab closest to you closed first. Keep pushing until it is flush with the band. Turn the band around so you can push the open tab fully closed as well. Place the flat of your knife blade over the tab and push it flat again.
Step 13
Now that the second side of the band and extra links are completely closed you can flip the band over and finish closing the first two tabs. Press the tabs down one at a time with the flat of your knife blade and when they are both flush with the rest of the band you know that the band is securely back together.
Step 14
Lay the band around your wrist again and check the fit. If you need to add another set of links, do so now by repeating what you did before. If the band fits correctly you can now close the watch band also by repeating steps 9 – 13 to connect the band back together.
Finished
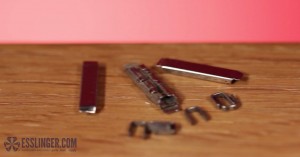
With the band completely and securely closed again and a watch band that fits just the way you want, you can wear it again. Be sure to keep any extra links or pins that you may have left over at the end in case you need them again in the future. And check out our Learning Center to learn more about watch repair.


Leave A Comment