
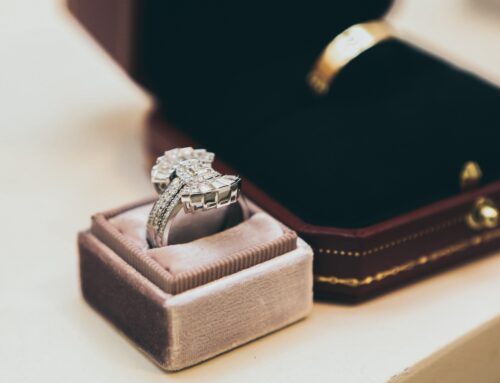
Arthritis can make it difficult to ensure that your ring fits because the ring has too be large enough to be able to slide over the knuckle, but then it’s often too big for the inside of your finger which causes it to spin on your finger. Sometimes, if a ring is top heavy, it will spin on your finger even if it’s just a little bit big for you. A good solution to keep a ring from spinning, and make sure it fits where you need it to, is to have sizing beads installed on your shank.
Step 1
Once you have determined that sizing beads are the best, most cost effective, solution for this problem, you can go about performing the repair. First you must make the sizing beads. To make sizing beads you will need two equal sized gold chips (make sure the color and karat matches that of the ring).
Step 2
Place these two chips apart from each other on your charcoal block. Add flux to both gold chips and heat them, one at a time, until they become spherical and are the diameter you want them to be, for example: 2 mm.
Step 3
To ensure that the ring still fits once the two sizing balls have been added, tap the ring up a half size. This can be accomplished by simply sliding the ring on a steel mandrel and using a hammer to tap it up. If the ring has been previously sized, use easy solder to attach the sizing balls. If not, you may use hard solder to attach the sizing balls. Place two tiny pieces of solder on the charcoal block and flow one piece to each sizing ball.
Step 4
Before soldering, be sure that the ring is clean. Before fire coating the ring, make two marks on the shank where you want the sizing beads to sit (usually at five and seven o’clock). With a pair of cross-locking solder tweezers, clamp one of the sizing balls to the shank, solder side toward the shank.
Step 5
Place a drop of flux on the joint and then begin to heat the shank. Soldering tweezers can conduct heat away from the ring, so it is a good idea to preheat the tweezers, allowing you direct all your heat at the ring. The bead will be heated by conduction and the solder will flow from the ball to the shank. Repeat with the second sizing bead.
Step 6
Now that you are finished attaching the sizing beads, examine your work. The beads should be identical in size, shape and positioning. Now you can buff and polish the ring to bring it back to its original shine.
Leave A Comment