

Do you have a watch case that is a weird size and leather bands are either too big or too small to fit it right? With our notching pliers you can finally have the perfect leather watch band for your favorite watch.
 Tools Needed:

- A notching pliers
- A digital gauge
- Fabric cement
- A notepad and pen
- A marking pen or pencil
- And a leather replacement band
Step 1
 To ensure that your new watch band will fit your watch case just right, the first thing you need to do is measure the watch case. Take your digital gauge and measure the length of the lugs first to find out how deep a cut you need to make into your new leather band. Use the regular jaws of your gauge to measure the inside of the lug from the innermost point where the old band sits to the outside edge of the lug. If the old band is still attached to the watch, you can use it for a reference point.
Otherwise, if the band is gone, you will have to estimate and measure from the halfway point between the spring bar hole and the watch case to the outside edge of the lug. You don’t want to blindly measure from where the lug meets the watch case to its tip because most leather watch bands to not rest directly against the watch case because of their design. Be sure to measure this section at least twice before recording your results.
Step 2
Once you know how long the cut needs to be, you will need to figure out how wide it should be. For a watch band that will sit in between two lugs on a typical watch, you will first need to measure the width of the new watch band using the normal jaws of your digital gauge. Measure the new band twice and record this measurement before moving on.
 Step 3
Then you will need to measure the distance between the lugs of the watch case with the backward opening jaws of the gauge. Verify your measurement, by measuring at least twice, and then subtract the distance between the lugs from the width of the band. This will tell you the total width you need to remove from the edges of the new band.
 Step 4

Next, divide the difference between the lugs and the new band in half. You will remove the resulting width from each side of the watch band to ensure it stays centered between the lugs and on your wrist.
Take your digital gauge and open it to the partial width you calculated, lock your gauge in place to keep the measurement from changing.
 Step 5
Using your digital gauge, you will mark off the amount of the band you need to remove from each edge to keep the new watch band centered in the watch case. Lay one half of the watch band face down in front of you and line up the jaws of the digital gauge with the outside of the band and mark the inside of where the other jaw ends.
Slide the digital gauge across the end of the watch band and mark the other side of the band the way you marked the first side.
Step 6
Set your gauge aside and line up the two halves of the watch band end to end. Continue the two marks you made on the first half onto the second half. This way you can be sure that each side of the band will be trimmed the same amount.
 Step 7
After you have made your first marks, you will need to mark how long you need to make your cuts, so the band will be perfectly tailored to your watch case. Again, take your digital gauge, this time opening it to the lug length you measured earlier. Be sure to lock your gauge in place to keep the measurement from changing while you mark the watch band.
Starting with one half of the band, measure from the end of the band into the center, marking at the inside of the jaw on the band. Turn the band around and mark the length of the cut on the other side as well.
Repeat this step on the second half of the band being sure to mark both sides of the band.
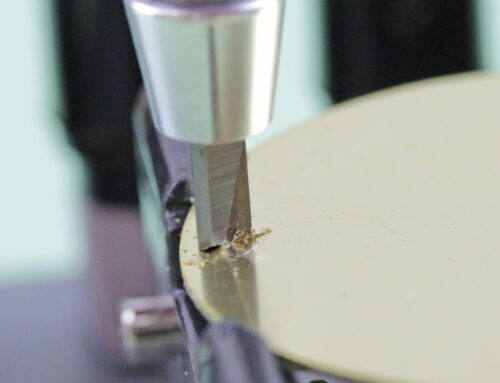
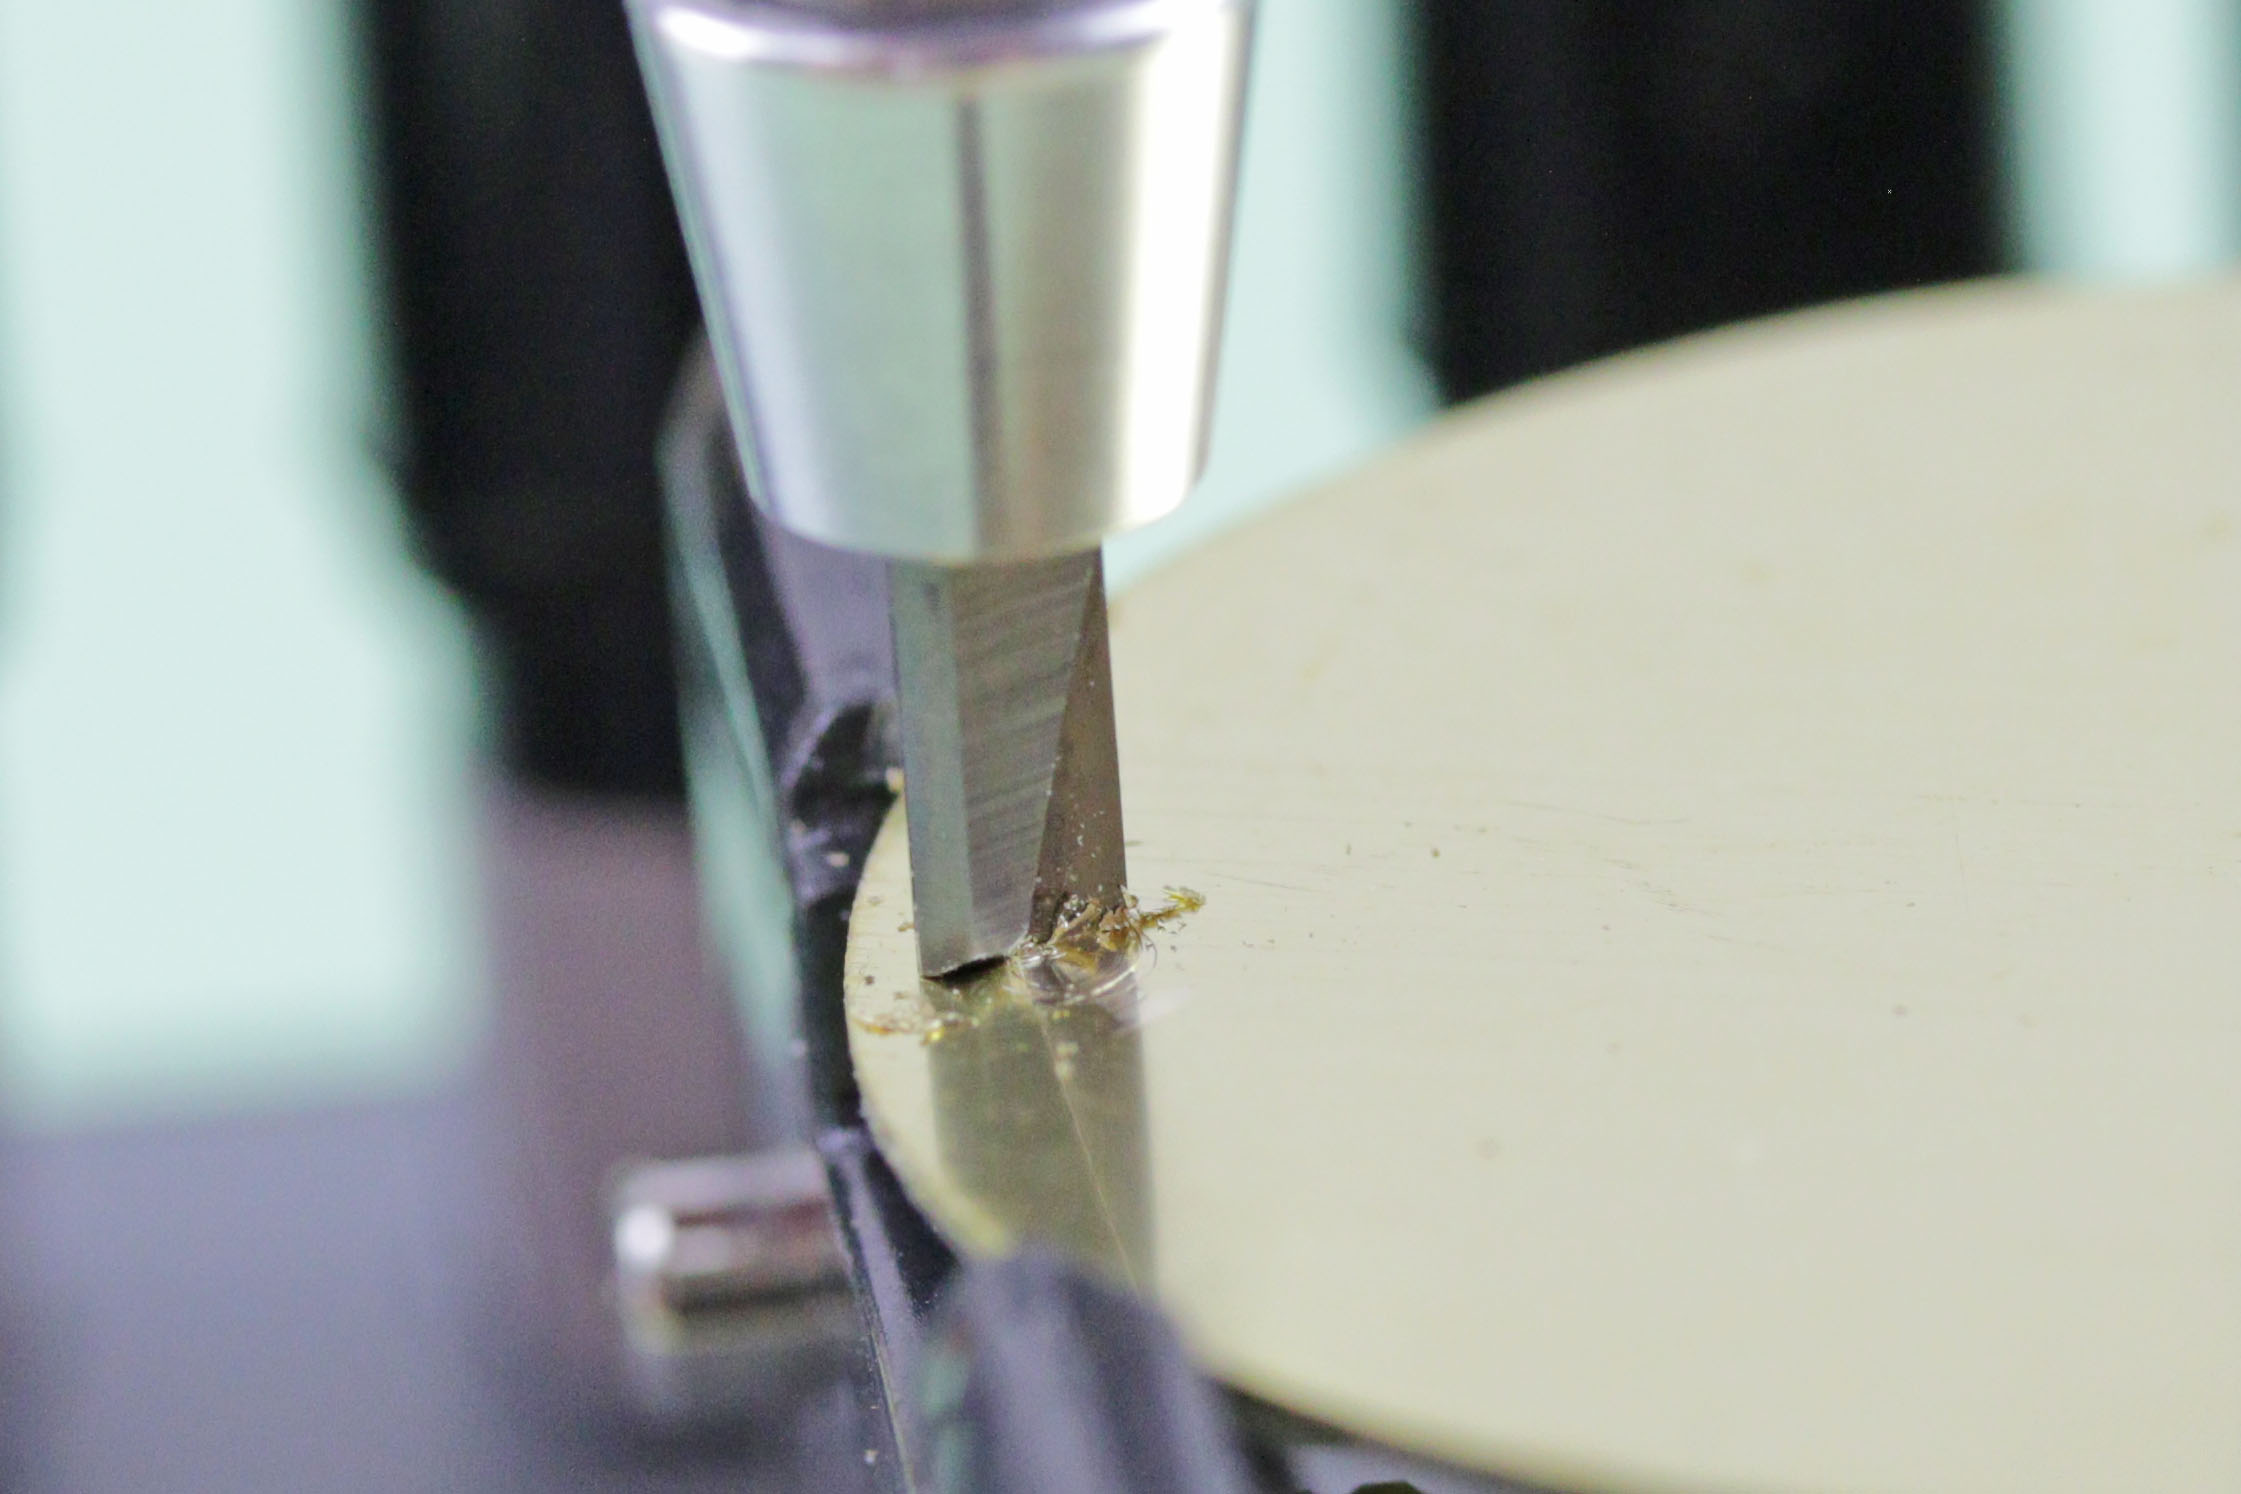
Step 8
Once you have completely marked the inside of the band, you are ready to notch the band to make it the right size. Position one half of the band in between the jaws of the notching pliers. Be sure to align the notching blade with the edge of your width mark. Then, check that the end of the blade is aligned with the end mark you made.

Remember: it is easier to make one single cut with the notching pliers than to try to make two smaller cuts. Holding the watch band steady, slowly close the jaws of the pliers, allowing the metal to cut through the leather band. If your watch band is particularly thick, you may find it difficult to cut through the leather. To make it easier to cut through, you can brace the pliers against your workbench and use two hands to apply pressure to close the jaws.
Once you make the first cut in the band, turn it around so that you can cut the necessary amount from the other edge of the band. Reposition the band in between the jaws and align the cutting edge with your markings. Press the jaws closed to cut through the second edge of the band.
Step 9
Set the first half of the band aside, and repeat Step 8 to cut the second half of the band down to the correct size.
 Step 10
Once you have made the cuts in both portions of the watch band, you will want to use the fabric cement to seal the cut edges of the watch band to keep them from fraying or coming apart. This is particularly important if you have cut any portions of the seam to size the band down.
Take your fabric cement, and one half of the watch band, and apply a small amount of adhesive to all the cut edges. This will seal the band and extend its life. Be careful not to accidentally seal the hole in the band shut because if you do you won’t be able to connect the band to the watch case.
Step 11
Set the first half of the watch band aside, and repeat Step 10 to seal the second side of the band just like you did with the first. Finally, let the fast drying cement set up and dry for about a half hour to ensure a good seal.
Finished
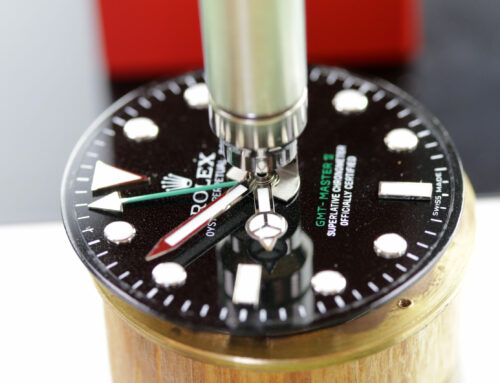
Then, when the fabric cement has dried, you can attach your new watch band to your favorite watch case. Check out this article to learn How to Attach a Leather Watch Band or learn other quick and easy watch repairs by checking out our Learning Center today.

Looking for notched leather strap for a Stauer meisterzeit watch