

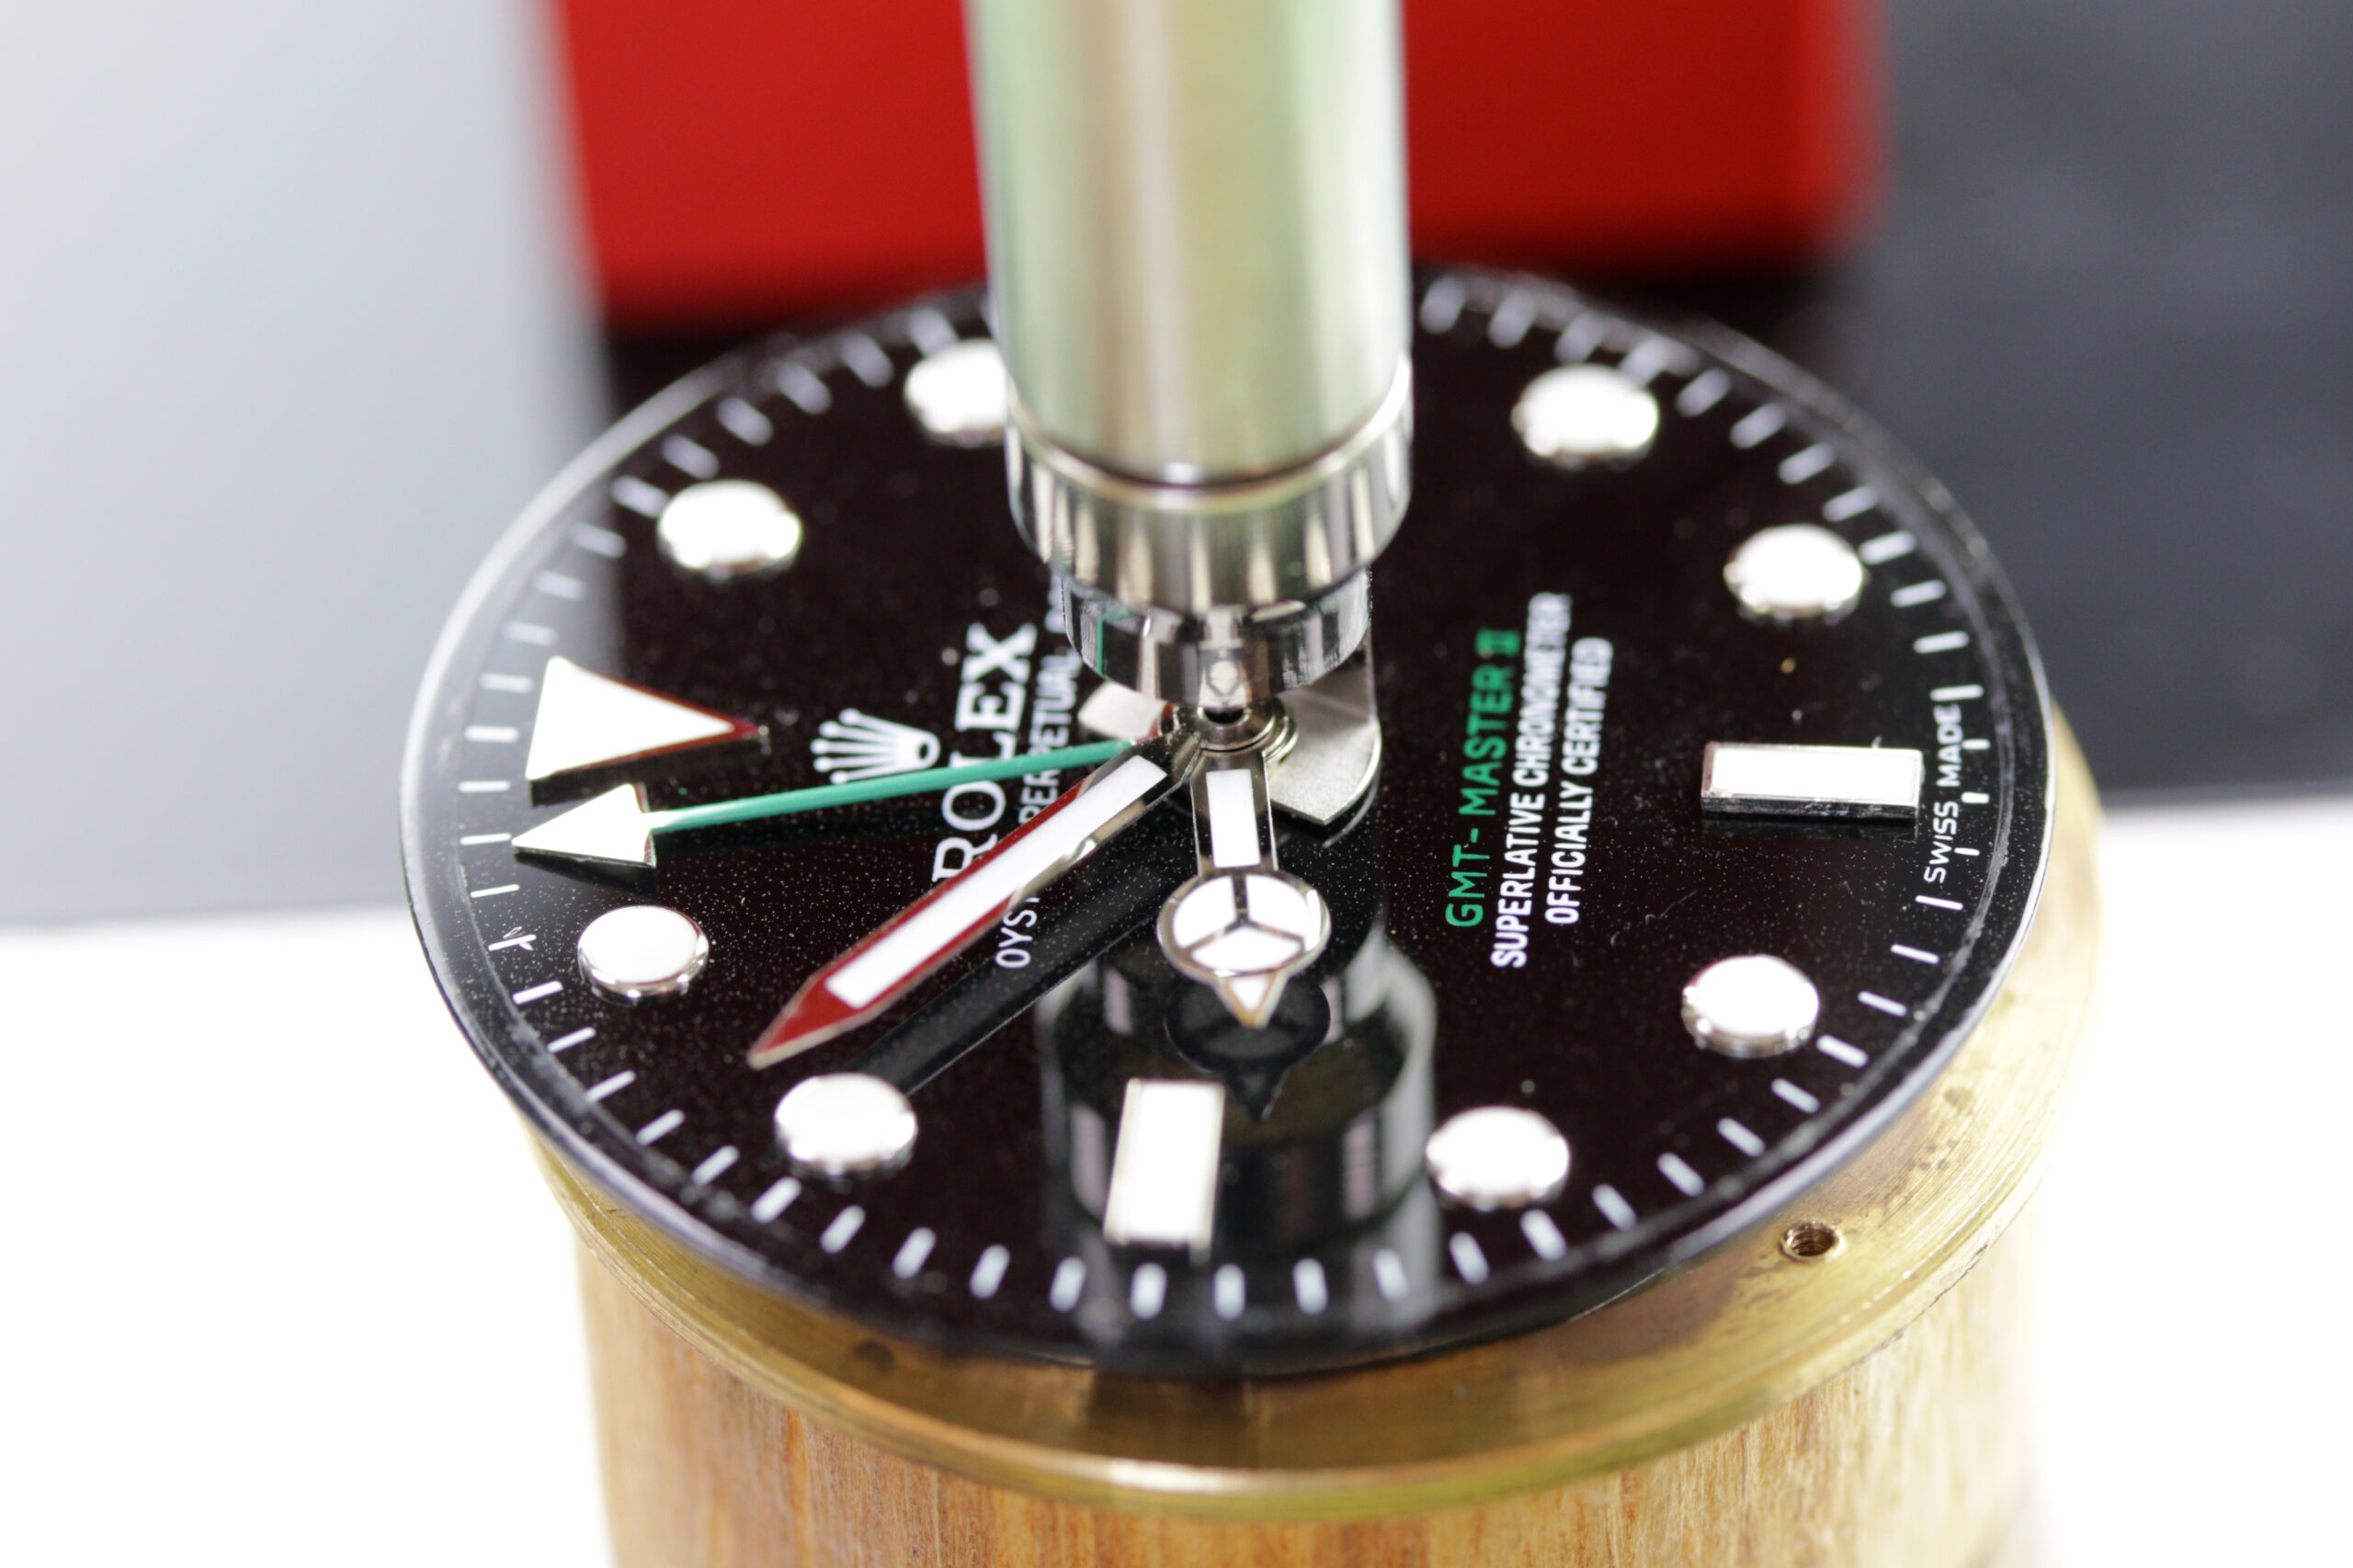
 Sometimes your watch band clasp will wear out before your watch band does. If you don’t want to replace your whole watch band you can always just replace the clasp itself. Use this guide to learn how to change simple sliding style watch band clasps. How do you know if your watch clasp is a sliding style clasp? When the clasp is closed it will look like one side of the band goes straight through the clasp below where the clasp opens, like this. And, when you open the clasp, the top portion will be permanently attached to the shorter end of the watch band.
Be aware that you cannot easily remove the top clasping portion as it is soldered into place. If this is the portion of the clasp that is damaged, you will have to cut the watch band to remove it to start over. This guide will only help you replace it if that top portion of the clasp is in good shape.
Tools Needed:
- A spring bar tool
- A digital gauge
- A pin punch
- A watchmaker’s ball peen hammer
- A parts tray
- A marking pen or pencil
- And a replacement sliding style clasp
Step 1
The first thing to do will be to remove the portion of the old clasp that can be removed so you can replace it and continue wearing your watch. Start by opening the watch band clasp to reveal where the band goes through the clasp.
Let the upper portion of the clasp end of the watch band hang free and begin by laying the band out so that the bottom portion of the clasp is in front of you and accessible. Take your spring bar tool and insert the forked end under the little metal strip under the bar the other end of the clasp hooks on to. This strip is keeping the clasp held to the band. Carefully lift up and release the metal strap. When the strap comes up, you will be able to easily slide the clasp off the long end of the watch band.

Step 2
Turn the watch band around so you can see the hook end of the sliding style clasp. This part of the clasp is soldered on to the band and is very hard to remove and replace, therefore it is important to find a new clasp that will fit this top portion.
When ordering your replacement clasp, you will need to use your digital gauge to measure the diameter of the watch band. Order the right size and color replacement watch band clasp, once you have this measurement in hand.
Step 3
After you have the right size replacement clasp for the band, you’ll need to fit it to the top portion of the old clasp. The goal is to find a close match to hold your clasp closed like this: the old clasping portion should snap securely onto the new clasp. If the two parts do not fit together, you will need to completely remove old sliding style clasp.
Check out this article on How to Replace a Fold Over Style Watch Band Clasp for an easy clasp you can use to replace a sliding style clasp.
 Step 4

Once you have a good match for you replacement clasp, try the watch on so you can estimate where the solid portion of the clasp needs to sit on the band for it to fit you perfectly when closed. Make a small mark on the band to help you place the lower part of the clasp.
Step 5
Check the bottom portion of the clasp to be sure the metal strap is raised so you can easily slide it onto the watch band. Take the bottom portion of the clasp and slide it onto the watch band. Be sure that it is positioned so that the clasp can close and latch together.
 Step 6

When the second portion of the clasp has been positioned where you marked the band, take your pin punch and position it over the metal strap. Use your ball peen hammer to quickly tap the strap down toward the watch band until it clicks into place and grips the band securely.
Finished
Now that the new bottom portion of the clasp has been securely attached to your watch band you can try it on and then continue wearing it again with pride. To learn more about watch repair, you can check out the rest of our Learning Center.

Leave A Comment